29/06/2019

Product Spotlight for Helmar

Hey Everyone

This week on the Helmar Blog I'm spotlighting the 450 Quick Dry Adhesive it's one of my favourites that I reach for all the time
I love that it dries quick and clear and will stick just about anything

Make sure you check out the rest of the blog to see all the sensational ideas the rest of the team have come up with 

And be sure to check out the Shop to see the huge range of Helmar products we have there
So I've created a part 2 layout to one I created a couple of weeks ago of a very sad little girl who didn't want her big sister to go off to Kinder
Well this is a layout of the big sister enjoying every minute of Kinder and probably not giving her little sister a second thought


 I used Cocoa Vanilla Studio - Happiness papers and embellishments on this layout 
The camera was from my stash 
 I used a tag and stuck a paper tassel to it so it can be pulled down and mum can write the story on it
It sits up under the photo (which I always use the Acid-Free Glue on) I only stuck 3 sides down 

I liked this little tag because shes painting I thought it was appropriate 


I used 3 of the word stickers from the Accessory Stickers as well as the butterfly


Helmar product I used


Thank you for visiting and I hope you come back soon x

Happiness for Memory Maze


Hey Everyone

This week on the Memory Maze Blog I created a canvas using this quote for a friend to remember to be happy for herself and not let people get to her and cause her the pain and stress 


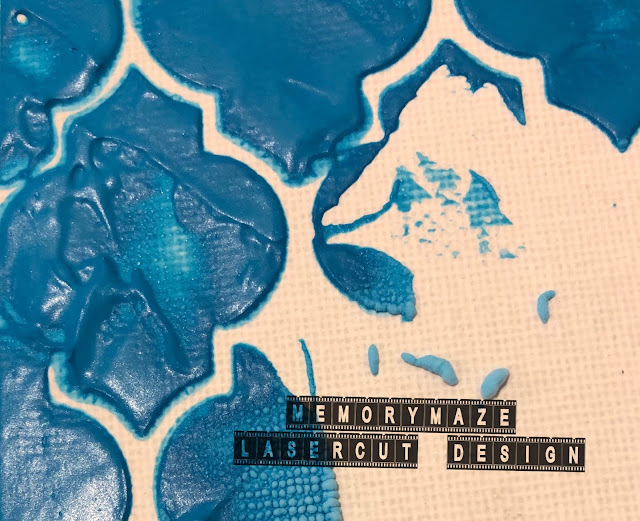
I used Memory Maze Door Wire Stencil with some Little Birdie Embossing Paste which I got from Random Arts 
It's so fun to use, it goes on like a thin paste then when you heat it, 
it puffs - the more heat the more puff it's so much fun and worked excellent with Door Wire Stencil

I then painted it with Finnabair's Metallique Soft Satin Paint 
I went over the whole canvas with Finnabair's Opal Magic Vintage Silk Wax for an added dimension and to lighten the colour a little 

I then painted the Lace Scalloped Nested Circles clear gesso then with Finnabair's Metallique White Pearl Paint for a nice shimmer

I then used some Cocoa Vanilla pieces from the Die Cut Ephemera pack and some Mermaid Balls scattered around


Memory Maze  Products I used

Lace Scalloped Nested Circles

Thank you for visiting and I hope you come back soon x

Last Post for Colour Blast


Hey Everyone

This is my last post for Colour Blast I've decided to step down for health reasons 
I will miss posting projects using these awesome Australian products as we don't have too many too choose from these days
I want to say a HUGE Thank You to Tenisha for choosing me to be on her team and to Kaye for all the hard work she does behind the scenes 
Also to the Design Team thank you you've all been great to work with xxxx

So for my final project, I created a Steampunk type creation using the Limited Edition Paper Range, Sienna Colour Paste, Colour Shimmer Brush Markers - Silver and Gold and lots of cogs from Memory Maze as well as some metal and a clear cabochon over one of her eyeglasses 


I used the clocks and cogs piece from the Stand Out Limited Edition Range and roughed up the edges with the scissors
I then used the strip with the brads on it from the Exception paper from the same range
And from the Glorious paper, I fussy cut out the girl the globe bug and the key
I also used the scissors to rough the edges then used the Coffee Archival ink to go around the edges of everything
I used the White Heavy Gesso on all the Memory Maze Chipboard pieces
With the cogs, I wanted a metallic look so I used Silver and Gold Colour Shimmer Brush Markers
For some added texture and colour I added scrapes of  Sienna Colour Paste

Here you can see the cabachon I added to her eyeglass


Here's a closer look at the cogs and other metal pieces I added 
I love the cogs and clocks on the piece I cut out and the Light globe I added from Memory Maze 
I loved the Globe Bugs that are on the paper but in my stash, I had small globes so I thought I would use one over the top for added dimension
Being steampunk themed they use a lot of metal and a lot of the men have moustaches so I thought it only appropriate I add one
Here I added a large metal brad that I have had for years and I stuck the key from the papers I had fussy cut out on it 
I also added a watch because they always have pocket watches and this was the closest to a pocket watch I had 
I then added an Embellish With Flair  Vintage Map Flair as it fitted so well with everything


Thank you for visiting and I hope you will come back soon x

24/06/2019

Gift Box for Embellish with Flair


Hey Everyone

This project for Embellish With Flair I had this box that I thought I would make into a nice gift box for a bracelet or watch, I have a few birthdays coming up so I'm sure it will come in handy


I then used Colour Blast Boho Mandala Stencil with 3D Matte Gel
 I painted the box with black gesso first to make sure any other layers would adhere to the box and then painted it with a different colour gold which I didn't like

 So then I painted it with one of Finnabair's Opal Magic Art Alchemy Paints - Yellow Pink which as you can see parts show up pink and yellow on the box 

 But on the paper clay embellishments that were painted with the black gesso only, they came out mainly pink
I love how these paints work

 This set of Flairs are one of my favourites they are just so pretty and can be used on almost anything and I thought it was perfect for a gift of any sort really - I could keep it for Mothers Day even

 I glued the paper clay bow to the twine so it can be taken off without having to ruin the box
 And as always there has to be a flower x


Embellish With Flair Products I used


Thank you for visiting and I hope you come back soon x

17/06/2019

Farm Help for Colour Blast


Hey Everyone

Here's my latest project for Colour Blast Australia 
Make sure you check out the latest products from the store
And make sure to check out the Blog as there is always lots of inspiration from the fabulous Design Team there

I got these photos of my gorgeous God Daughter from her day at school where they dressed in farm type clothes to support the farmers and donated money towards it as well
She's not shy when having her photo taken if you can't tell 


I started by spreading Heavy White Gesso over the Spread Your Wings - Earth Angels paper to mute the black a little and for the  Lush Colour Shimmer Dust to stay on top of the paper and not soak through (that's what happens if you don't prime your papers)


I sprayed water onto the paper then dipped a brush into the Shimmer Dust, then lightly tapped the brush randomly over the page
Then with the spatula I spread the water and dust so it would mix and leave different shades over the paper


Here you can see I used different pieces of the Spread your Wings Collection and added the Lush Shimmer Dust to those as well
I had excess on the page so I swiped them onto it so they all got a bit of colour

I had planned on using these flowers on something else and had used the Soot Colour Artist Ink on them but had added extra water to tone them down then in the end didn't use them 
So I added more Soot to them and placed them on the page


I added some straw to give the farm feel and add some texture
And of course every layout needs some metal 
I also added some word stickers that I thought where just right for the photos and for Miss Sophie xx


Thank you for visiting I hope you come back soon x