01/06/2025

Helmar


Hey everyone just a quick one from me using my favourite Helmar adhesive 
I have a little technique I want to share with you 
Our glue is not just for sticking things together it can help make good backgrounds for your projects 


I used the Helmar 450 Quick Dry Adhesive (I’m inpatient and need things done quick lol) this glue drys slightly raised unless you smooth it down of course


As you can see I made lines with the Helmar 450 Quick Dry Adhesive once it was fully dry- it’s best to let it dry on its own


Unless you want more texture - the heat gun causes bubbles in the glue and will leave a very bumpy texture 


As you can see where the glue is it creates a resist type effect so the paint doesn’t go where the lines are and you see the colour of the canvas come through
I used watercolours to paint with but it works with most paints 
It will wipe off the glue areas if you get it on there and it happens to stay there 


To finish off my little canvas I just added an acrylic flower mould and a little heart which I also used the Helmar 450 on


And that’s it for my quick technique 

Thanks for visiting and I hope you’ll be back soon xx


18/04/2025

Adjust the focus for Scrapbook Fantasies


Adjust the Focus seemed so fitting for me right now 

I have so much going on and I just need to sort myself out so adjusting my focus on what's important seems to be what's needed 

When I saw this picture with the quote on it everything felt right 
It goes so well with the Boho Beauty range as well, so it made it so easy to choose what papers and embellishments to use for this project

Make sure to visit the Scrapbook Fantasies Facebook Group and join in on the moodboard challenge 
Don't miss out on the great Free classes that are also offered every week by the lovely 


I used some texture paste over the whole canvas 
once it dried, I painted it with a few different colours
I added a piece of the Boho Beauty Patterned Paper No. 2 which I tore either edge for some more texture


Then I added flowers from the Colour Cuts Bouquets and Words pack and the fussy cut flowers from the Fussy Cut Essentials Flowers 2 sheet 


Of course, I can't get away without a Flair they just add that something extra 


I added some little bling flowers from my stash for some sparkle and its done


Thanks for visiting and I hope you'll be back soon xx


14/02/2025

Be my Valentine


Hi everyone 
Hope you’re all having a great day

It’s my turn on the Helmar blog I created this card for Valentine’s Day using Helmar products

I love their glues, they have a great range and you’ll find something for every project 

Make sure you check out the blog and the rest of the design teams creations and get some inspiration for your next project


Fabric Glue

All the glues I used on my project


I used a piece of cardboard and attached pieces of velvet ribbon with the Fabric Glue


Once the ribbon is dry I cut a heart out then added a row of Fabric Glue around the edge so it doesn’t fray 


While that dried I added some graphite texture paste to the cards background

I used the Tiger Grip to add a little acrylic heart to the side of the velvet heart


I used some Acid Free Glue to the image which I printed on photo paper


I decided I needed to add some ribbon to the card to close it 


So using the Fabric Glue I added a little to the back and a bit to the front under where the heart will go


I used the Super-TAC Glue to add the heart to the ribbon on the card


I printed a little quote and glued that onto some cardboard with some Acid Free Glue for some height 


Then use the Fabric Glue to stick it to the heart


And that’s it all tied up 


Thank you for visiting I hope you come back soon xx


13/01/2025

Heart canvas for Scrapbook Fantasies


Anyway here’s the first project using the gorgeous Boho Beauty range by Scrapbook Fantasies 

Also make sure to check out the fun projects that the rest of the Design Team over at the Facebook group - Scrapbook Fantasies Creative Family

The family also also share lots of great ideas and very fun and creative videos so make sure to check them out


This is a canvas I created using the Boho Beauty Range

I started by using Patterned Paper No. 1 for the background
I had fussy cut the flowers and stems from Patterned Paper No. 6 and had the pale green left over so I used that as my contrast paper where I will place my photo (I just need to print it) 
I also cut down some white for my photo to have a thin border around it
And added one of the strings across the top from Patterned Paper No. 5 


I added some foam dots to the back of one of the Colour-Cuts Bouquets & Words flower bunches and placed it in the corner 


I added my favourite- a flair this Princess Flair matches perfect with the Boho Beauty range 
And I do love Acrylic Embellies they fit anywhere 
These are the Clear Hearts 2


I used some of the words from  the Colour-Cuts Bouquets & Words pack 
They are so dainty and fit so nicely anywhere 
You don’t always need a big title sometimes a few little words can work too


I used the wooden Heart to trace onto Patterned Paper No. 1 then added some stems underneath 


The wooden Heart then got painted gold and glued down so I could glue down the floral heart after adding the foam dots to it 
I used some of the strings from Patterned Paper No. 5  
Then used another Colour-Cuts Bouquets & Words floral bunch to the side of the heart 

Thank you for visiting and I hope you come back soon xxx


30/12/2024

Memories for Scrapbook Fantasies

Hello everyone
I’ve had a hectic few months sorry for the gap in posts we’ve had so much happening which is too much to go into now 

I hope you all have a very happy and safe new year xx
Anyway here’s the first project using the gorgeous Boho Beauty range by Scrapbook Fantasies 

Also make sure to check out the fun projects that the rest of the Design Team over at the Facebook group - Scrapbook Fantasies Creative Family


I stared off using Patterned paper No. 2 as the base


I had scraps from another project 
So I cut them to the size I wanted 
I used both sides of Patterned paper No. 1
Then added a piece of white cardstock where I’ll put the I used some gold wax over the Memories from the chippie-cut  Magical Memories Words and added it to the bottom corner 


 I fussy cut the Dream catcher from the Dream Builder Fussy Cut Additions sheet
then added some paper clay embellishments I had in my stash

Thanks for visiting and I hope you visit again soon x


29/12/2024

Escape

 On todays blog I’ve got a page I created using the Nautical Dreams Collection from Scrapbook Fantasies 

It’s such a great collection with such a fabulous variety of papers that work for any style of layout or project 

Make sure to check out the range from the papers to the colour cuts and printed vellum 

I used 


I started off by tearing pieces of the papers in random shapes and sizes and taping them together to make a photo mat 
Also using a piece of the green trees from Paper No. 5 that I had leftover from another project (see never throw out the scraps)
I also used cardboard underneath to raise the photo and mat up for height


Once I knew the size of the mat I used some crackle paste to make a border around the outside for some contrast against the mat 


I tried to use some glue through a stencil but it didn’t quite work how I wanted - the pattern couldn’t be seen properly so I just added more so the gold leaf would stick to it randomly for some contrast


Once that was dry I used some water colour paints in blue and green so the crackle would show up better 


Then after fussy cutting a few pieces and choosing a few colour cuts I started to embellish the page


Thank you for visiting I hope you’ll come back soon xx


12/12/2024

Gecko Galz christmas

 These are my last projects for Gecko Galz Scrapbooking Challenge Blog for this year

Make sure you enter the challenges you have a chance to win a great prize from the Etsy store


Don’t forget we also have a Facebook Challenge page so check that out as well this has different challenges to enter 


The background for my tag I used the Winter Weather ATC sheet and cut small strips from a few of them 
Stuck them on a piece of cardstock
Cut them into a tag shape
And there you go


I have  and added a bling sliver ribbon bow


I had an acrylic deer head I made from a mould That every time I try with clay it never works out but with acrylic it’s perfect lol 


A mini canvas with an image from the Nouveau Winter collection

I started by adding some texture paste with a diamond stencil 
Then added some floral paperclay corner pieces 
Then I painted the whole canvas with black gesso 
After it all dried I went over everything with some different coloured waxes - starting with white, then some silver and ending on an orange/gold one to pick up the gold in the image
I added the image to some cardboard to raise it up a bit
And an acrylic window I made from one of my moulds
I had a tiny wreath charm so I added it to the window to add a little Christmas to the canvas without overwhelming it 


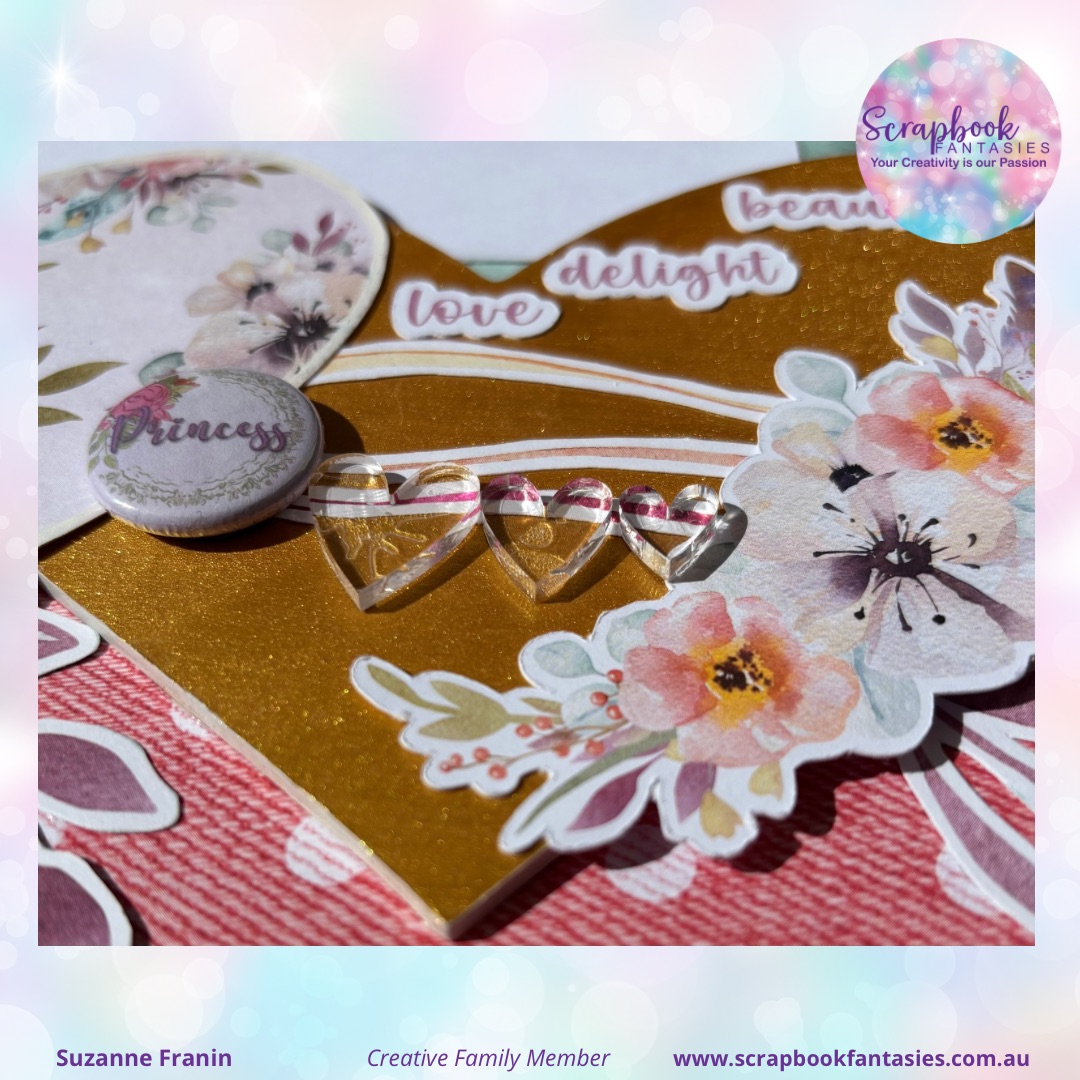
Three Christmas cards made with the Christmas Misses images two with not so traditional Christmas colours


I took some white cardstock and swiped some pale pink paint across it with a palette knife
Then added the grey ribbon (it had wire in it which I took out)
I added a couple of little flowers and a small acrylic bauble charm I made
Added the image which has a touch of pink to it which is why I chose it 
I like non traditional colours at Christmas 


I don’t use a lot of green in my crafting but Christmas just calls for it doesn’t it hahaha
Anyway with this card I used some bling paste which has a lovely sparkle to it which unfortunately you can’t see in photos
I had this pretty gold sparkly ribbon so I added a strip down the side and chose two images 
They reminded me of a mother and daughter who were out shopping hahaha
A little Christmas tree charm with some jute and it’s done


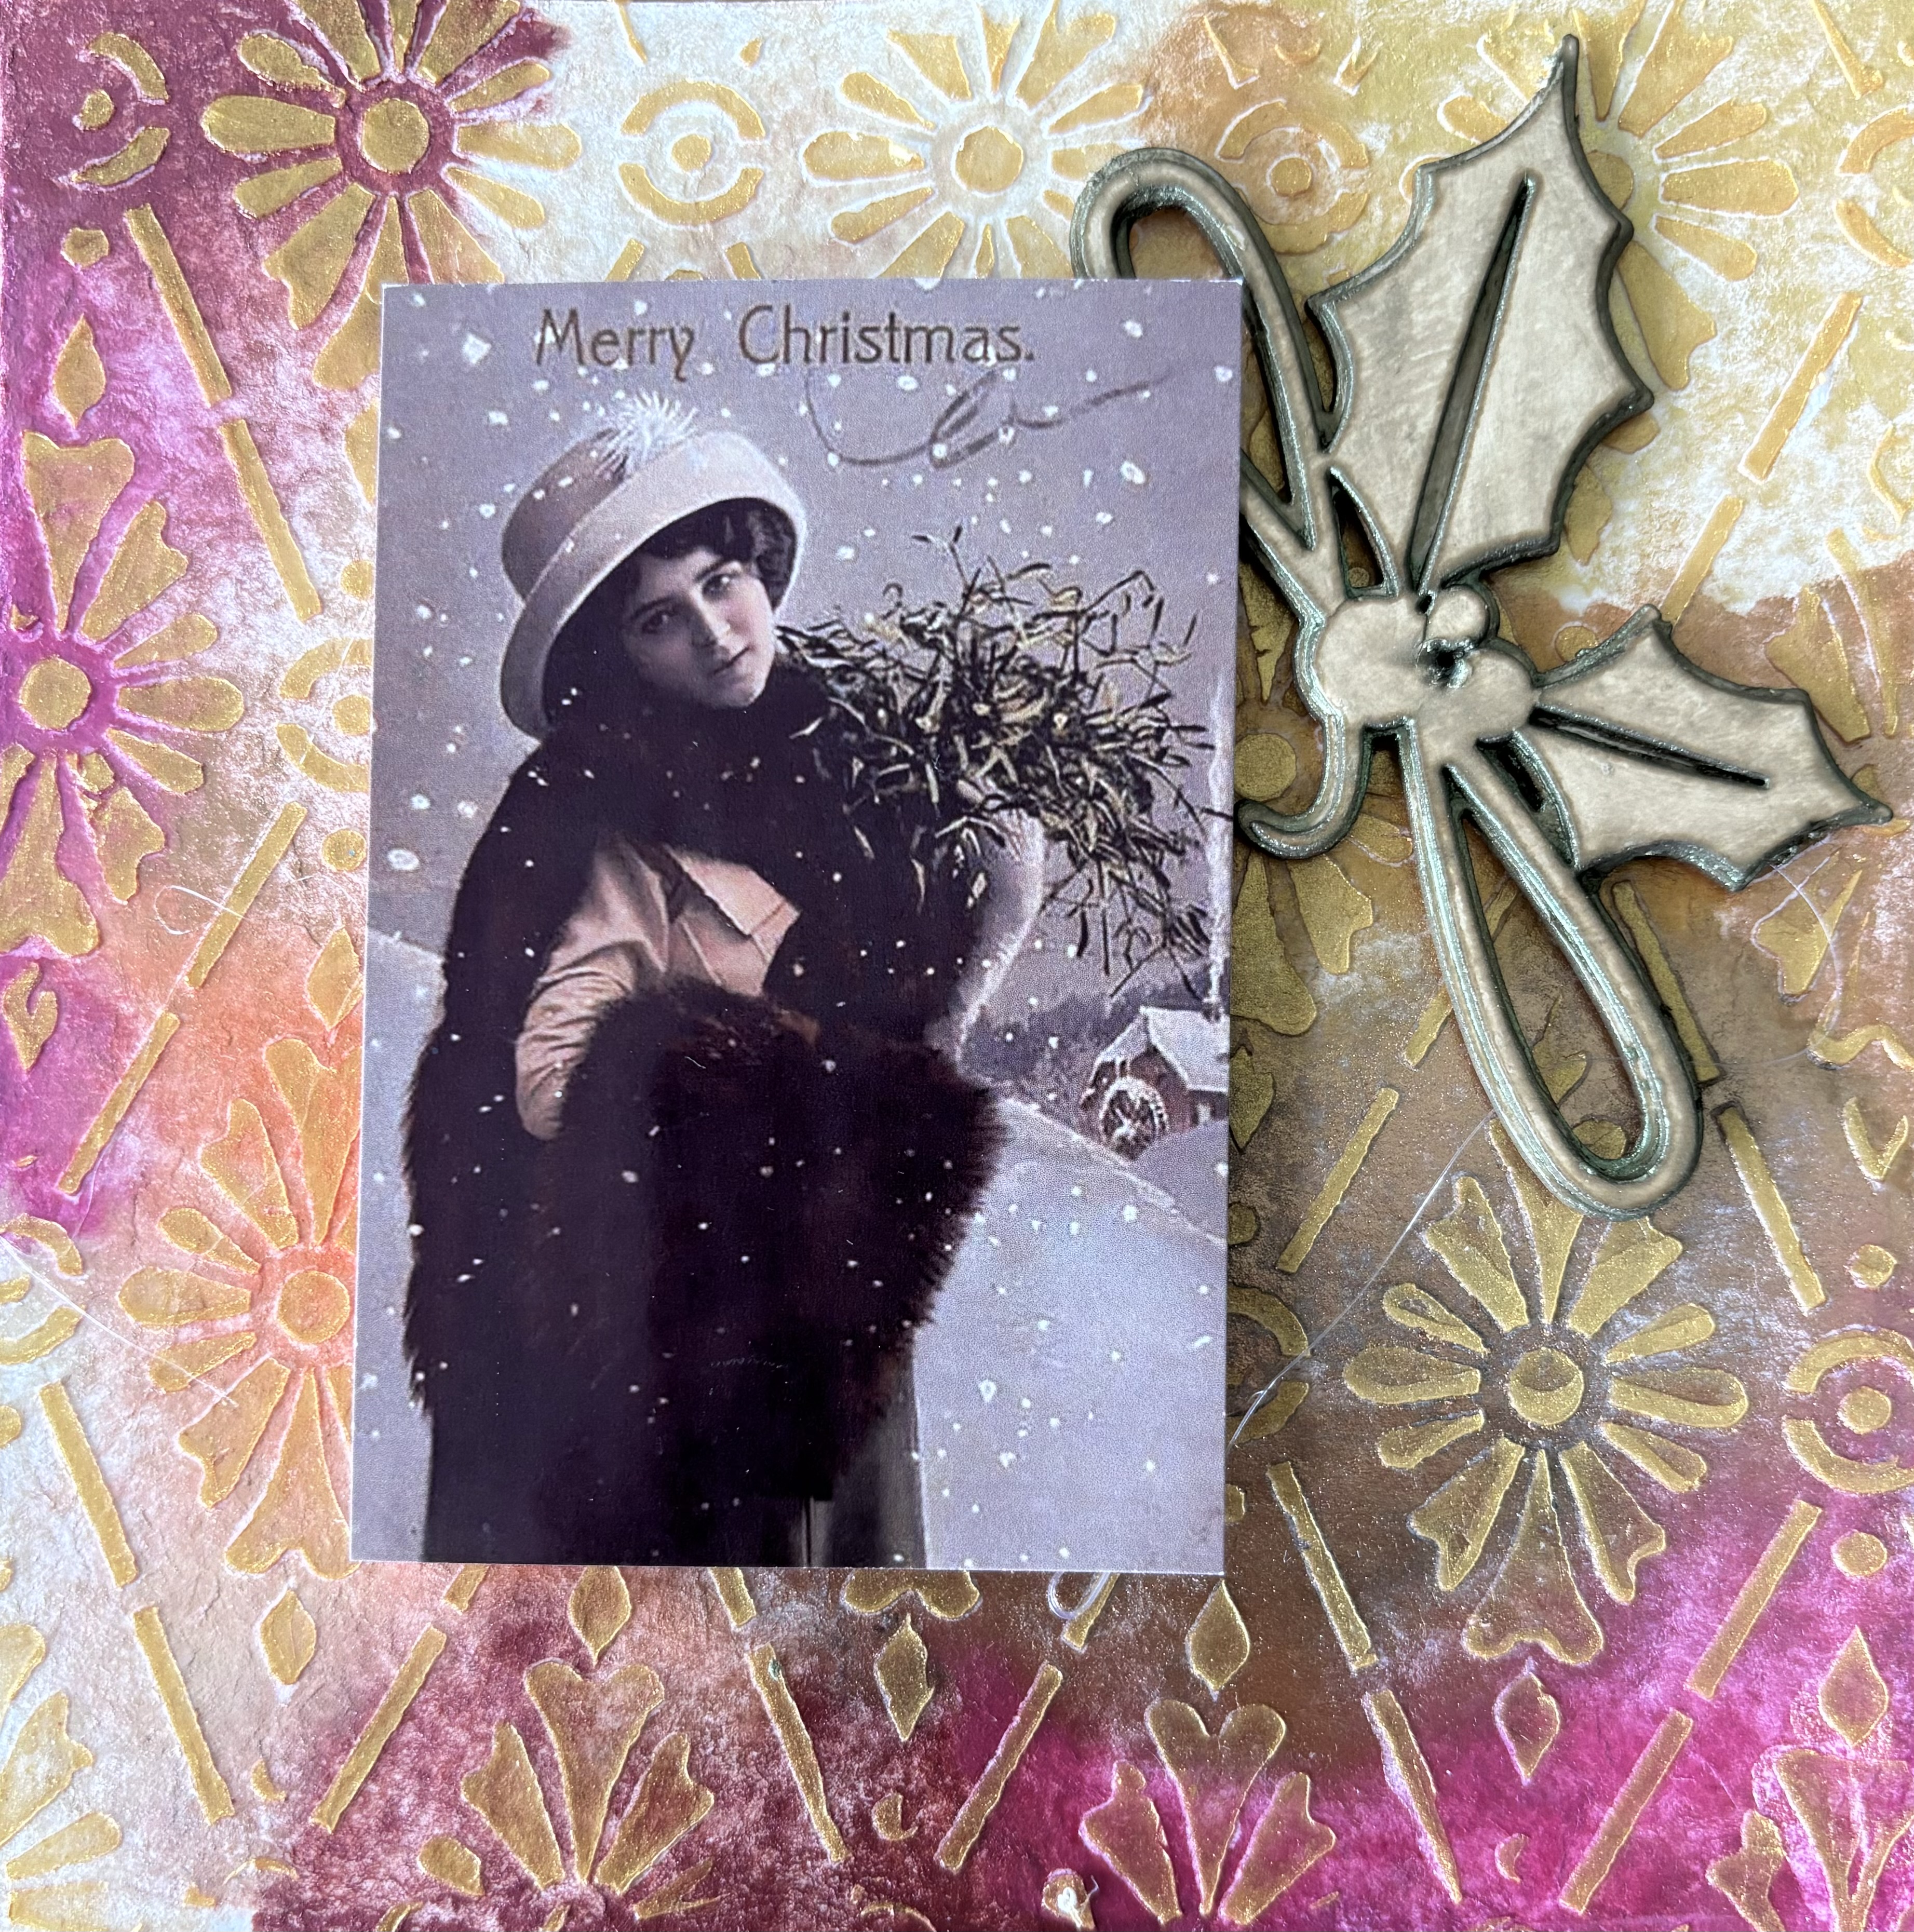
This card was a background I was playing with and didn’t start off its life as a Christmas card hehehe but as I said I like non traditional Christmas colours and this image is black and white so you can do anything with it
I have some gold texture paste with one of my favourite stencils which I used over the top of the water coloured background 
I found a chipboard Holly piece which I was given in our KK last year 
I used green wax over that which I lightly wiped over it so it only just coloured it
I used some cardboard to raise the image and it’s done

I want to wish everyone a Merry Christmas and safe and very Happy New Year xx