14/06/2019

Grandma and Natalii for Helmar


Hey Everyone

This project for Helmar was a Birthday present for my mum, she's very hard to buy for as she buys what she wants and always says nothing when asked what she would like 
This is a special photo as it's of my mum and my daughter 
It's a rare thing LOL the 3 of us don't really like our photos taken so being Natalii's wedding it was a perfect opportunity to get some done (I was in this photo too but I didn't look right I was more off to the side, so I cropped myself out and it was perfect of the two of them)
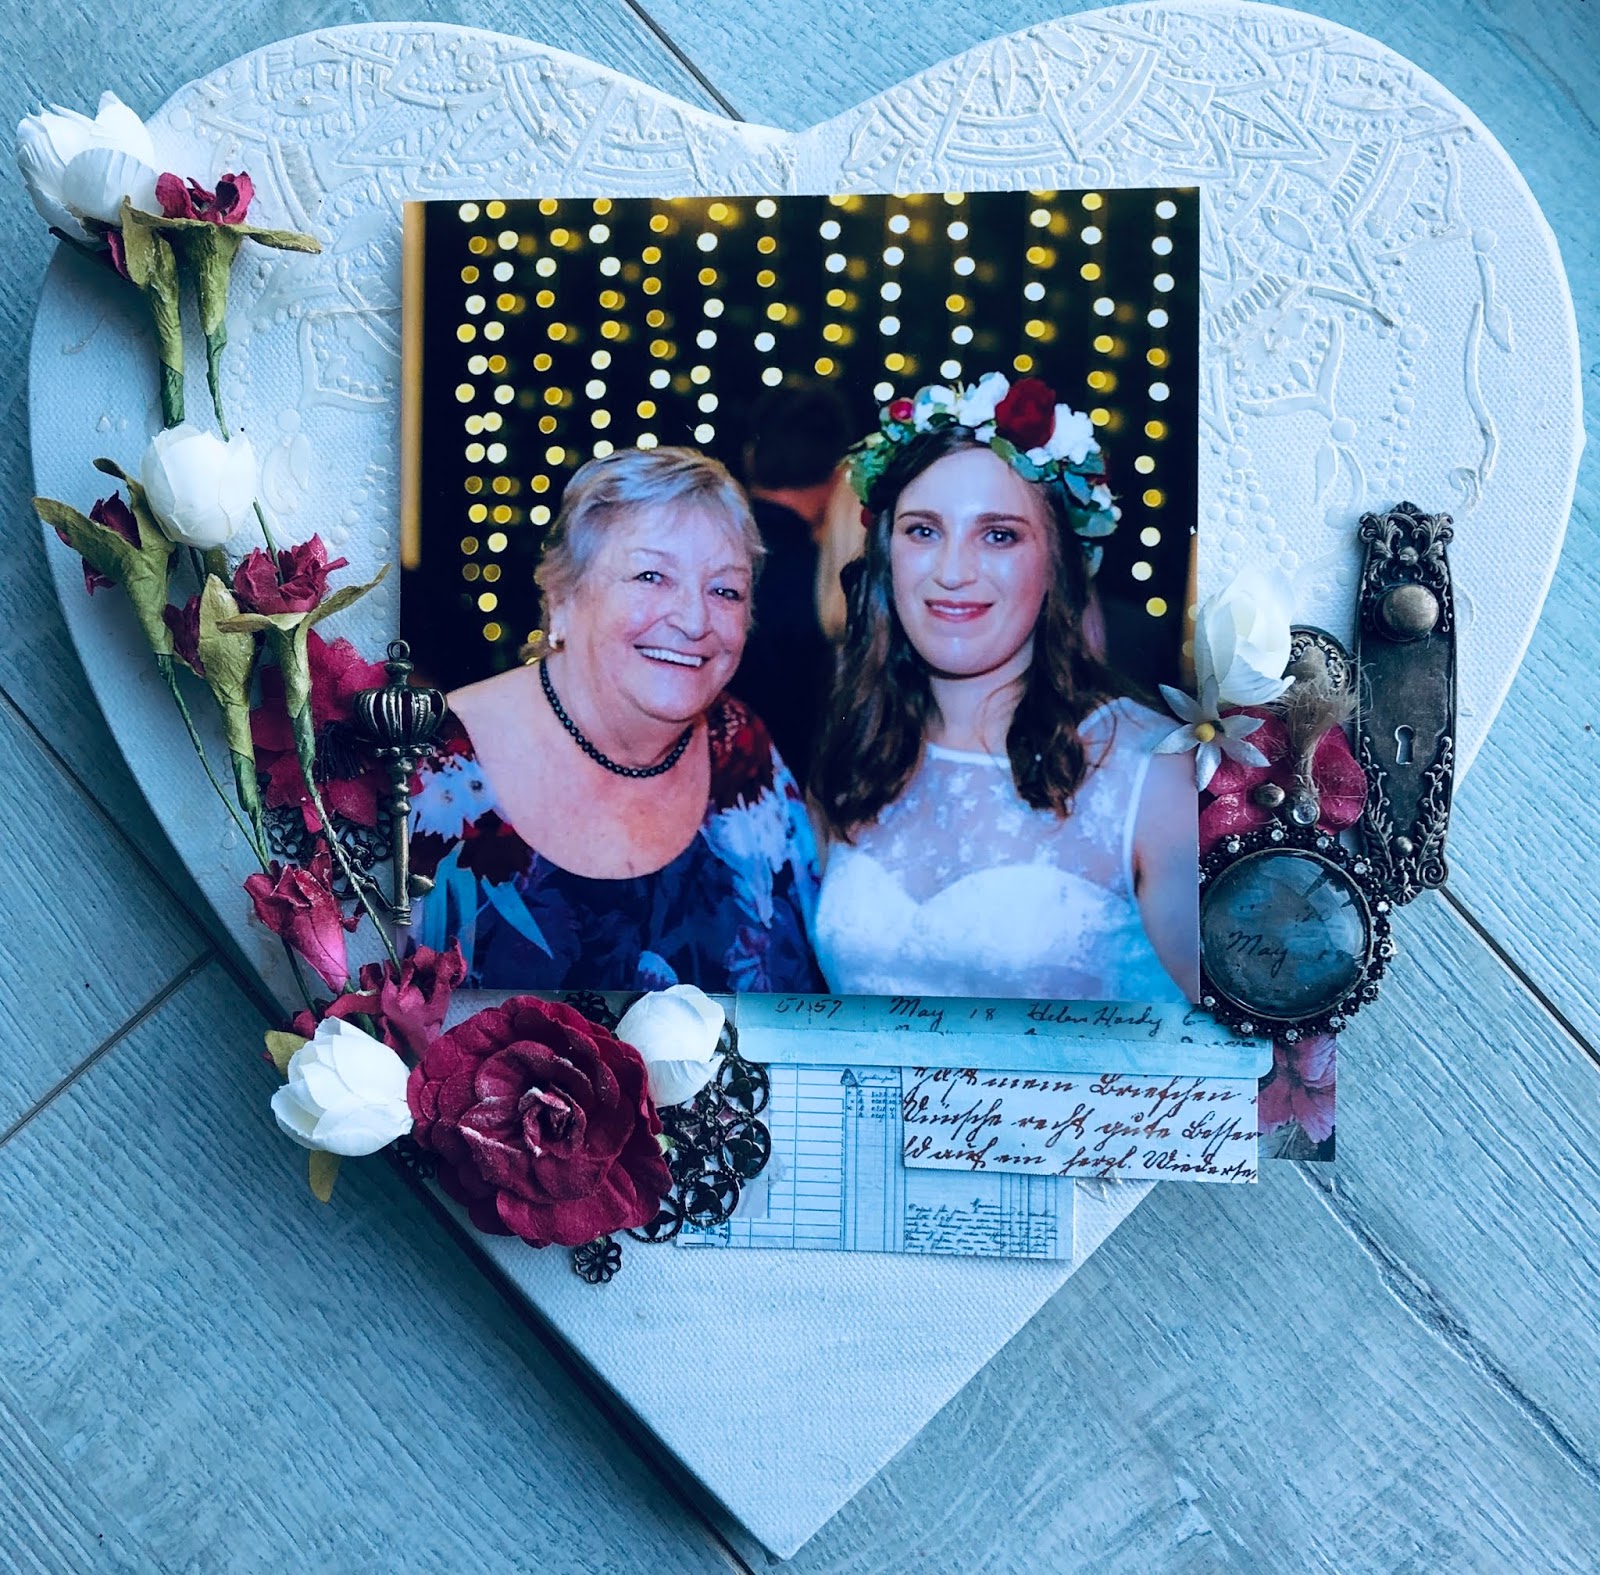

I used the Acid Free Glue on the cardboard that I put the photo on to mount it up a bit higher 

The stencil I used is from Colour Blast called Boho Mandala but I bought it from Random Arts 
The papers are pieces from the Midnight Garden Range either from the Journaling cards or some of the paper range off cuts I have 
I also used the Acid Free Glue on the papers that I glued together before I glued them to the canvas which I glued them down with the Premium Craft Glue
To glue the vellum type paper I used the Acid Free Glue and then to glue the clear cabochon on I used the Premium Craft Glue
The paper had the Wedding date on it which was quite a coincides as it was from a pack of flowers from Prima
I used the Premium Craft Glue to glue all the embellishments down as it's a great strong glue and holds everything down including all the metal I used

The white flowers are from a cheap shop but all the red ones including the stem are all Prima (I love their flowers and the colour was perfect for this canvas)
I love metal it just goes with everything and these are a mix of random pieces I had, Graphic 45 and Finnabair 
I then rubbed everything with some Art Alchemy Opal Magic Wax in Vintage Silk one of my favourite colours in the waxes as its subtle and has a nice shimmer to it 
It lifted the stencilled image enough that it didn't jump off the canvas but you can see it


Helmer Products I used


Acid Free Glue


Thank you for visiting and I hope you come back soon x

11/06/2019

Wander for Memory Maze


Hey Everyone

This time on the Memory Maze blog I created a layout with a photo my son in law took of my daughter at the beach
I love the way he captured her just wandering along 

Make sure to check out the Memory Maze Store because we do custom orders as well

I didn't do a lot to this page as I wanted the photo to stand out

I used the River Pebbles Stencil with sand mixed with 3D Matte Gel
It has great texture and dimension

The Circle Mandala Chipboard I painted with Finnabair Art Alchemy Paint Sparks Unicorn Hair and I brushed a little bit of the paint over the sand for a little shimmer
I used a mould from Prima for the scrolls then used two of the Art Alchemy waxes in the new colours - Old Denim and Blue Lagoon 
I feel like they look a bit like waves and the blue adds some extra colour to the neutral colours of the layout


The quote seemed appropriate for the photo and is from one of Tim Holtz's sticker books 
I used Platinum glass glitter for a bit of extra bling

Memory Maze Products I used


Thank you for visiting and I hope you come back soon x

10/06/2019

Mini Art Journal for Embellish with Flair


Hey Everyone 

This time for Embellish With Flair I created a Mini Art Journal great to just throw in your back with some pens or a small watercolour palette and water pens if your travelling and don't have a lot of space or time to do get much done during the day but want to wind down at night with something 


With the background, I used a mini Wire stencil from Memory Maze with some 3D gel medium 
I then used some Mushy Peas Dylusions Paint but that was a bit light, so I then used Bottle Green and Azure Impasto from Finnabair for a mix
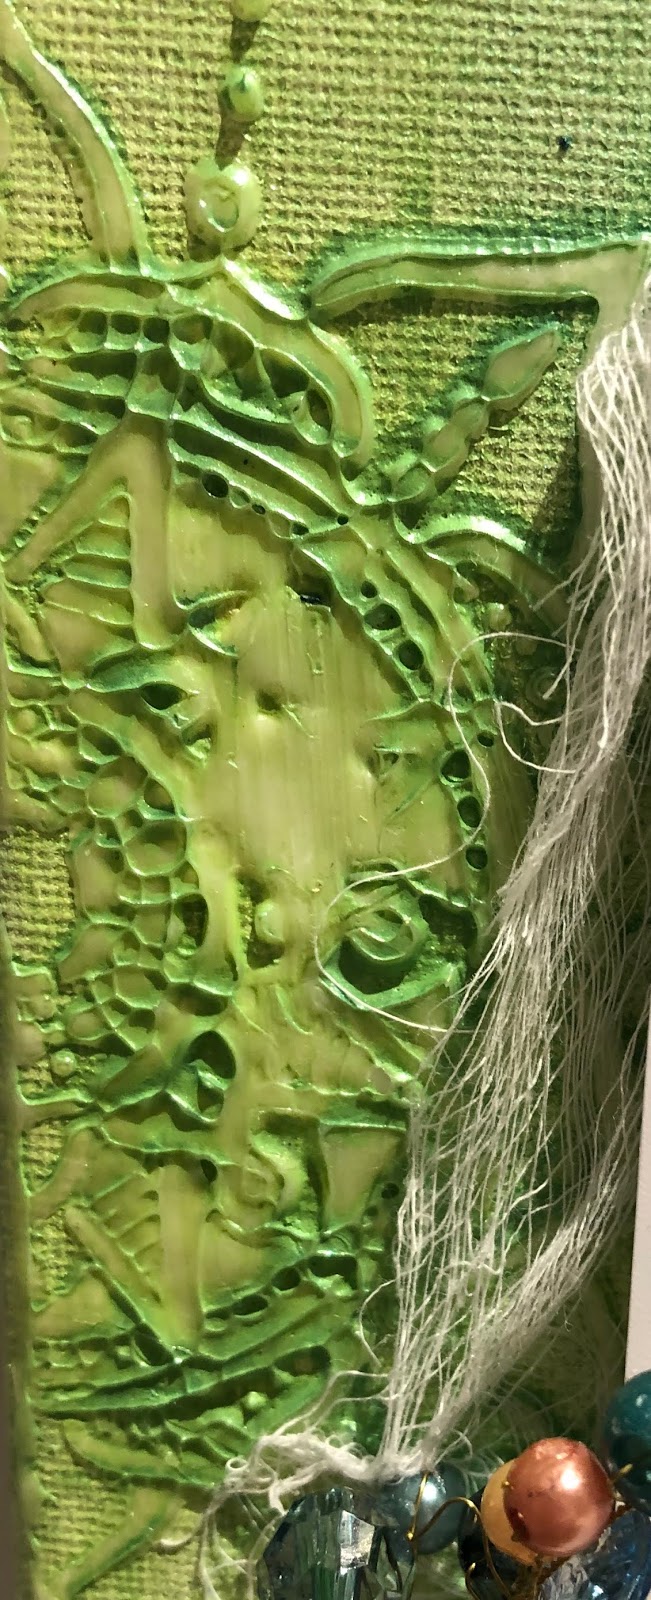
 I added some Vanilla Custard Dylusions Paint for the paper clay scroll and then glued the butterfly flair on top of that 
I also glued some other paper clay pieces that were broken bits from other things I'd made for a pop of white then glued the bead strand on top of them 
I painted the paper clay keyhole with Jade Impasto by Finnabair and added a key
Then added some word stickers to the cover
And that's it, it's ready to go travelling with


Embellish With Flair Products I used


Thank you for visiting I hope you will come back soon x

07/06/2019

You are... for Creative Artiste Mixed Media Challenges


Hey Everyone

Here is my project for this month on the Creative Artiste Mixed Media Challenge Blog 
Make sure you join in the fun and also check out the other projects by the rest of the design team

I used a quote that I thought suited a lady that doesn't see these things in herself so I thought it only appropriate that I make this for her to remind her that she is all these things

I used Boho Mandala A4 Stencil from Colour Blast which I purchased at Random Arts (a new Aussie online store with very good prices)
I used Finnabair's Acyrilic Paints - Line Peel and Deep Waters and added water so they mixed a bit in the middle 


I then embellished with a few bits and pieces I in my stash and added a flair from Embellish With Flairs (they have such a great range make sure to check them out)
A few more embellishments and a touch of gold wax by Finnabair
Then a few sprinkles of some Art Ingredient Glass Glitter placed around for some sparkle and we are done 


Thank you for visiting and I hope you will be back soon x

03/06/2019

You & Me for Colour Blast


Hey Everyone

This week's Colour Blast project I HAD to use the new stencil I'd gotten Colour Blast Boho Mandala Stencil from the Follow Your Dreams range it's so pretty  

Make sure you check out the Shop for the latest releases and the Blog for all the inspiration you need from the talented Design Team
Also, check out our Stockists for our range of products and help out a small business

Look at these two how gorgeous are they 
Mum took them to one of those pop-up shops where they take the pictures in the shopping centres and had a whole heap of photos done and when I saw them I asked if I could do a canvas of one of the photos she said for sure not knowing what I was going to do
It was so hard to pick as there were so many of them together and apart but this was the most fun out of all of them
And lucky for me their mum loved it

 I used the Colour Blast White Heavy Gesso on all the embellishments and the canvas to prime everything so that whatever medium I was going to use on them would adhere with no problem  
I used the Colour Blast Boho Mandala  Stencil from the Follow Your Dreams range with some clear impasto
I'd have to say this is my new favourite stencil it's so pretty
 

With the background, it took a while to work out what colour to go with I was going to do it in Snow White Shimmer Cube but the Lady I made it for said the other colour she liked was purple (she hadn't seen what I was doing with the photo until I was finished)
So I used the Colour Shimmer Cube Royalty 

 I used the Colour Artist Ink Slipper and some water for the flowers as they weren't white and didn't look right 
I also used it on a few of the other embellishments

 I used a Flair from Embellish With Flair it's from the You Make Me Smile Set
I also used some Cocoa Vanilla Studio Happiness Accessory Stickers and Die Cut Ephemera set
 The Heart is from Finnabair and I filled it with some Silver Art Ingredients Glass Glitter and used a Cocoa Vanilla Studio saying sticker from the Happiness collection to put on top same as I did with the saying on the arrow
The chipboard arrow is from a Memory Maze Set Arrow love me and you


Thank you for visiting and I hope you will come back soon x

28/05/2019

Gift Box for Helmar


Hey Everyone


My project for the Helmar Blog is a gift box made from a box that had a mug in it (I think it was a Father's Day Mug)

Make sure you check out the whole blog for the rest of the Design team projects they areas creative I'm sure you will find something you will need to make 

This is the top view as it's hard to take a view of the whole box but I really only decorated the top other than adding material to the bottom which you will see next
I painted the box with Dark Chocolate Impasto from Finnabair 
I used the Fabric Glue and an old gift card to smooth it out so there was no creases or bubbles
I also went over the box as I did each side with the clean side of the card to make sure it was smooth
Then with the lid, I use Rusty Paper paint and a little bit of the Dark Chocolate Impasto to make the lid look old and warn like it's been left in the weather for years 
I had some IOD moulds from Prima I had made up with paper clay that I glued down with the Super-Tac Glue which I also painted with the Impasto 
I tried to make sure I painted each layer as I added them so I wasn't trying to get paint etc into grooves later
This ornate chipboard frame from Memory Maze I glued with the 450 Quick Dry Adhesive - I so stuck everything else with this as I'm impatient and hate waiting and this dries pretty quick
I also painted it in the Rusty Paper Paint
Unfortunately, this photo is a bit blurry and I didn't realise till I was finished but you get the idea I added some lace to the side 
This is where I embellish the box adding Prima flowers
A Frank Garcia Hardware spoon in pink I just love these and the Mermaid Beads are the perfect colour to match
Under the spoon is a piece of Prima lace which is a lace flower which I also cut another one in half and added in two places
I went over the lid with Mint Sparkle Art Alchemy Wax by Finnabair and the paper clay borders and the frame
Then I went over it with my favourite wax Opal Magic Vintage Silk by Finnabair
I love to mix a couple of the waxes together


Helmar Products I used

Thank you for visiting and I hope you come back soon x