Showing posts with label metal. Show all posts

19/10/2019

Creativity For Random Arts


Hey Everyone

Here's a post for the Random Arts Blog which I haven't posted to for a while as I've had a few health issue which one included breaking my hip while taking my hubby to get his replaced - ironic I know LOL we were the talk of the hospital 

Any way I saw this quote 
I thought I'd lost my creativity I thought it had just gone and I could craft anymore with everything that has gone on with my depression and the hip and a few other things I just couldn't get into it
Then reading this quote made me realise how true it is
I knew I just had to start
So this is the first piece back it's simple but it was fun to do 


I thought it only fitting to use a paint palette seeing as that was what the quote was on
So I painted it with white gesso using a sponge to give it texture
 Then using the Lindys Magical Shakers I randomly used the three colours around the palette drying each colour as I went 
I love the way they blend into each other and can make extra colours
Here you can see I added the Little Birdie - Embossing Texture Paste - Aquatini and Frosty Fizz randomly with a palette knife
I love this paste the way the more you heat it the more it puffs
 This patch of Frosty Fizz I added some Alpine Ice Rose Magical's to it for some more colour then added the Silver Rhombus Spear Charm on top
 I added the Finnabair Old Silver Wax to the resin scissors, paintbrush and texta to make them pop
 I love the Patina Bee he's one of my favourite bits of metal in my collection
He adds that pop on the flower that was needed
I love flowers I think they soften things and add extra colour where it's needed

List of products I used from the Random Arts Store

Alpine Ice Rose, Guten Tag Teal, Yodeling Yellow
Embossing Texture Paste - Aquatini and Frosty Fizz
Handmade Flower Natasha Arctic Ice
Handmade Flower Embossed Daisies Pearl Pink
Handmade Flower Argyle Lemon
Finnabair - 
Wax - Old Silver
Vintage Steampunk Clocks - 3
Bee Charm A Patina
Silver Rhombus Spear Charm
Staples Shabby Chic Metal Door Plates & Knobs
Vintage Scissors Lge
Paint brush, Texta and two Prima flowers from my stash


Thank you for stopping by I hope you come back soon x

19/07/2019

Album for Helmar


Hey Everyone

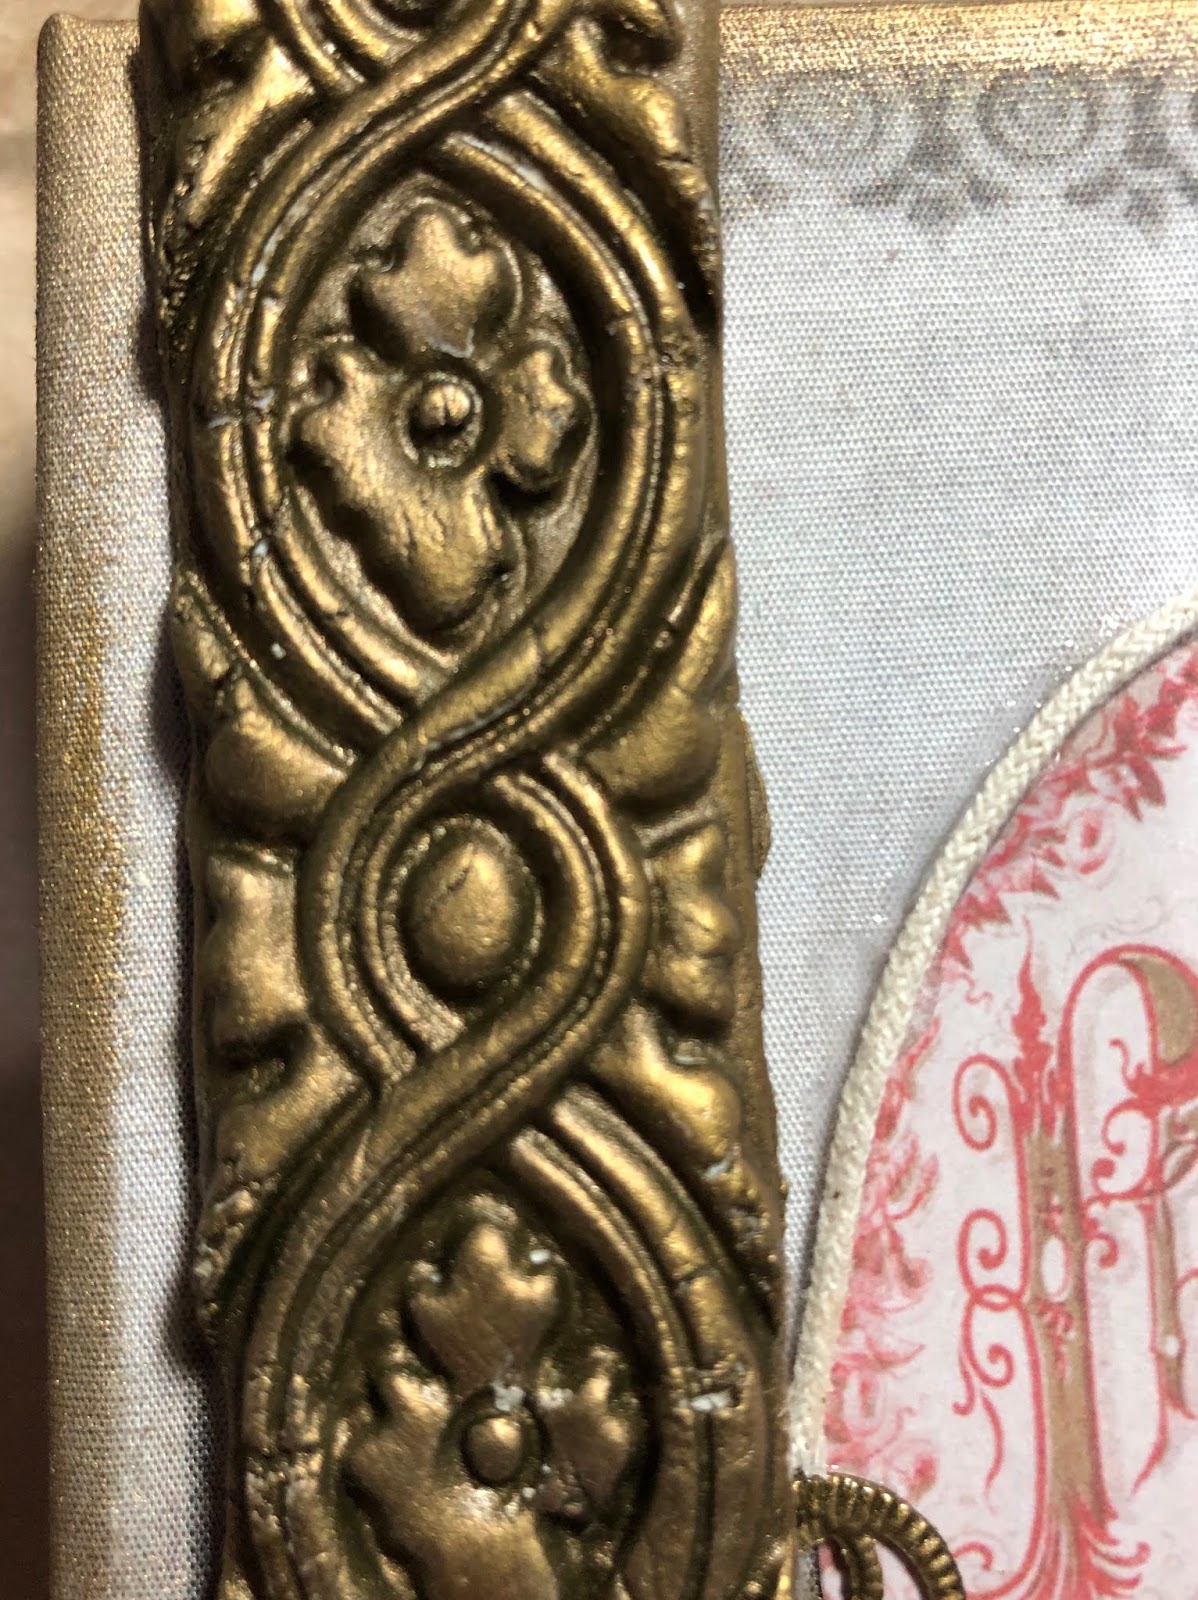
This project for Helmar Blog is a photo album cover which I decorated with lots of metal and some paper clay pieces 
Make sure you check out the rest of the Blog for some fantastic inspiration from the Design Team


 This is a Tim Holtz Album Cover that has preprinted fabric on it 

With all the metal and paper clay I painted it with Finnabair's Art Alchemy Metallique Rustic Brown


Once it was all dry I brushed everything over with a light coat of Finnabair's Art Alchemy Metallique Wax in Vintage Gold 
 But I found it to be a bit too gold so I used Finnabair's Art Alchemy Opal Magic Vintage Silk over the top to lighten it a little 
I used the Premium Craft Glue to adhere all of the embellishments to the cover which is so good for all different types of products to stick things down with 
Metal on metal, metal to fabric, paper to fabric and lots more
 This Key hole is from Graphic 45 I love how detailed it is
 The image is a piece from one of Tim Holt's Ephemera packs which I cut into an oval shape, then covered the edge with some twine
 I added a Bee Flair from Embellish With Flair Vintage Bees into a bottle top along with a piece of tulle fabric and a little clock 
 I had some Finnabair Mechanicals which is what the ART piece is which is what I added to the centre of the angels centre piece 
 Then I added some other bits of metal I had in my stash 
Now all I need to do is add photos or maybe add some art journal pages

Helmar Product Used


Thank you for visiting and I hope you come back soon x

17/07/2019

Hello for Random Arts


Hey Everyone

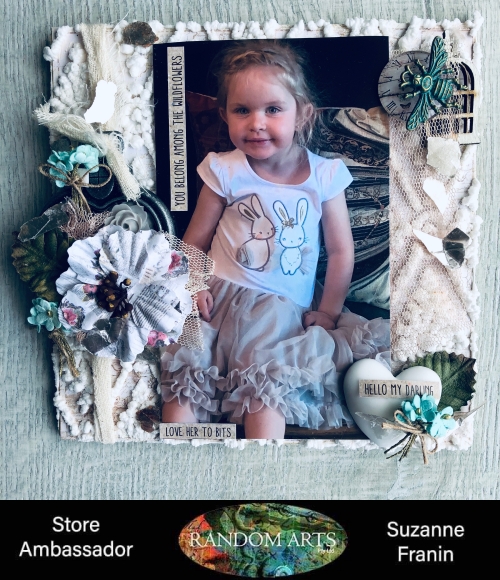
Here's my latest project for Random Arts a little canvas of such a cutie - she's my friend's granddaughter  
Make sure you check out the BLOG for lots of inspiration from the rest of the team and don't forget to visit our Facebook Page and enter our monthly challenge


I used an Art Alternatives Wood 6 x 6 Panel and used some Prima 6 x 6 Paper Pad Jodie Lee Butterfly Collection which I used some Helmar Super-Tac Glue spreading it all over evenly so it didn't leave any bubbles

This is awesome Embossing paste - you have to heat it and when you do it puffs up the longer you heat it the more puffed up it gets

I added the little Bee Charm A Patina on top of the cabochon and birdcage for extra dimension
 I randomly added some of the Little Birdie Arctic Ice flowers for a pop of colour 
 I used some of the Tim Holtz word stickers to describe this gorgeous little girl
I used the large one and filled it with some material and flowers
 I glued it on top of some material that I tied in a knot and threaded the knot through the top of the locket
Adding some Little Birdie Mica Flakes in Silver randomly around the canvas  
I added the Resin Heart to the corner for balance
The resin looks so good,  they come out so clean from the moulds


Products from the Store

Mica Flakes Silver


Thank you for visiting and I hope you come back soon x

15/07/2019

Twinkle Twinkle for Embellish with Flair


Hey Everyone

This project for Embellish With Flair was a fun little project 
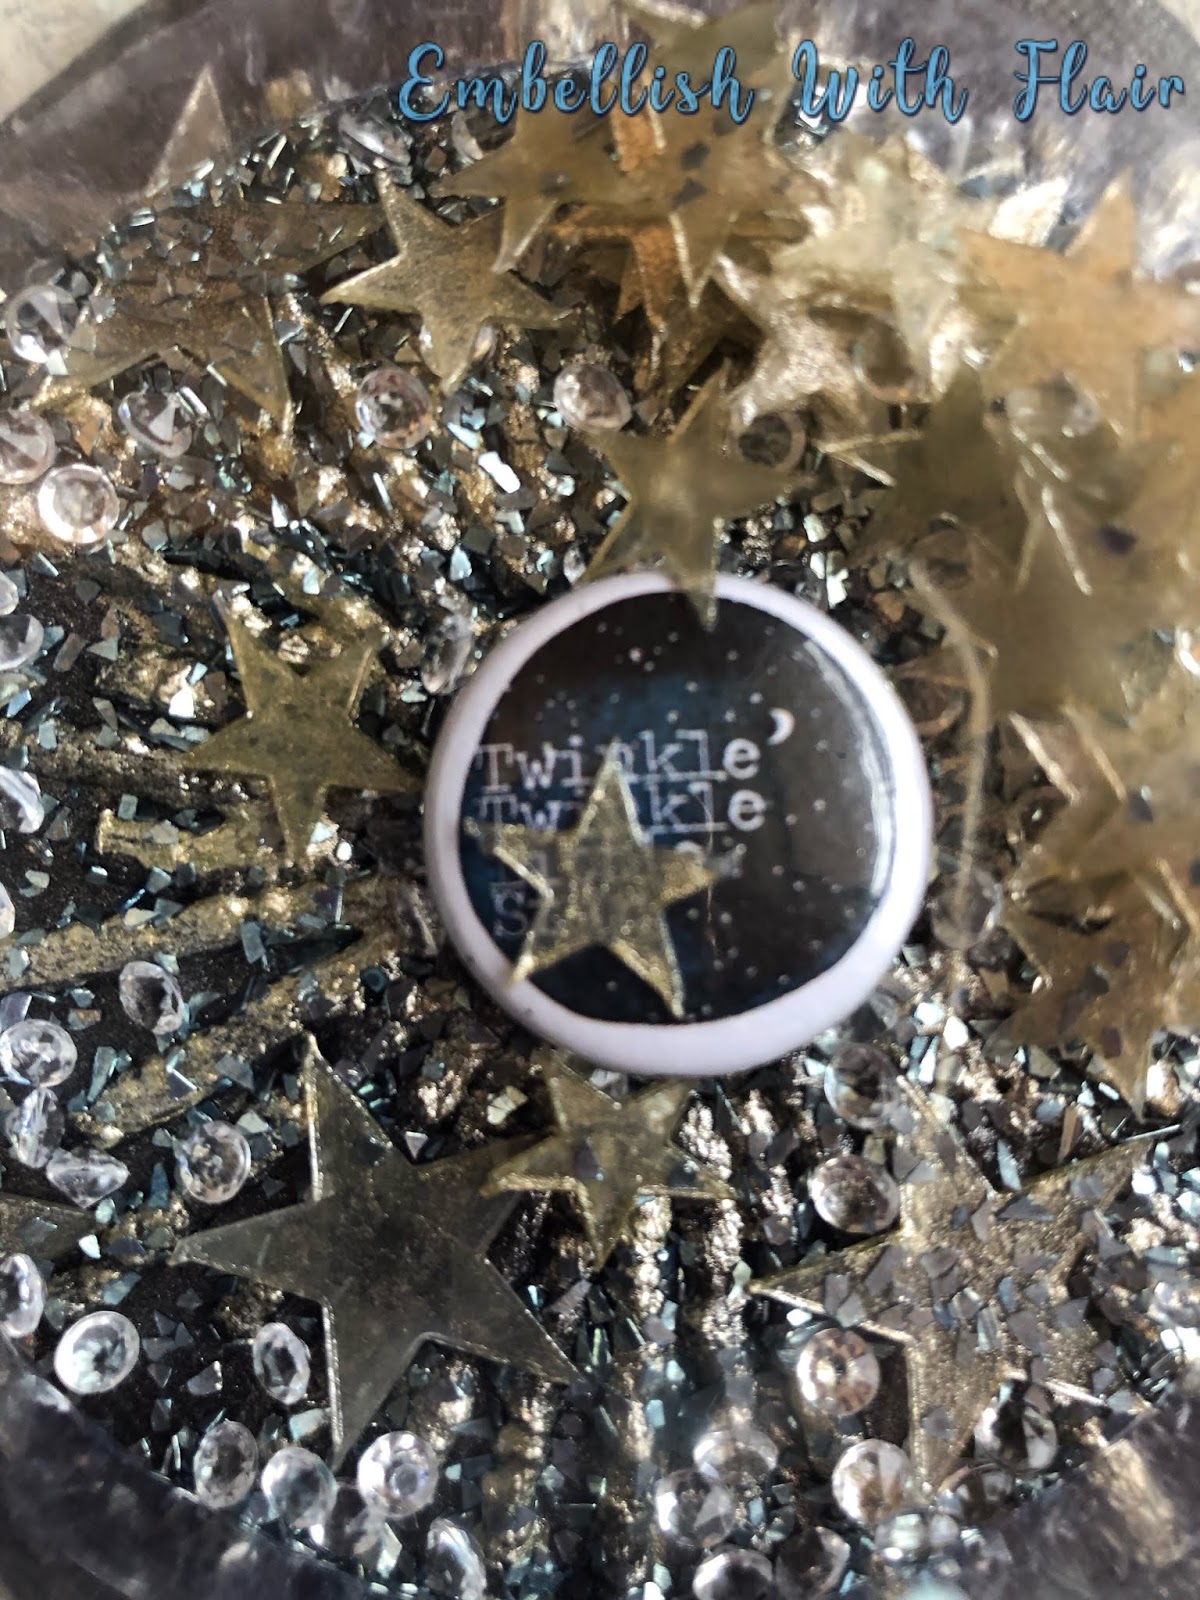
Using one of the flairs from the Galaxy, Moon & Stars set 


I used Little Birdie Embossing Texture Paste Aquatini through the stencil then once I heated it so puffed I went over the whole thing with black gesso
After that I used Finnabair's Art Alchemy Sparks Raven Black paint over the background

 Then brushed some Finnabair's Art Alchemy Sparks Unicorns Hair paint over the embossed area and painted the stars with it as well
 I used Finnabair's Art Alchemy Dragons Eye paint over the metal moon 
I used a Tim Holtz sticker onto to add an extra touch
 Inside you can see the clear plastic stars which are from Memory Maze 
I added some clear gems I had in my stash and to pick up on the blue in the flair I added some Art Ingredients Glass Glitter in Platinum
Here you can see all the bits that make it like a shaker box but it's going to get hung up so it all sparkles


From the Store


Thank you for visiting and I hope you come back soon x

29/06/2019

Last Post for Colour Blast


Hey Everyone

This is my last post for Colour Blast I've decided to step down for health reasons 
I will miss posting projects using these awesome Australian products as we don't have too many too choose from these days
I want to say a HUGE Thank You to Tenisha for choosing me to be on her team and to Kaye for all the hard work she does behind the scenes 
Also to the Design Team thank you you've all been great to work with xxxx

So for my final project, I created a Steampunk type creation using the Limited Edition Paper Range, Sienna Colour Paste, Colour Shimmer Brush Markers - Silver and Gold and lots of cogs from Memory Maze as well as some metal and a clear cabochon over one of her eyeglasses 


I used the clocks and cogs piece from the Stand Out Limited Edition Range and roughed up the edges with the scissors
I then used the strip with the brads on it from the Exception paper from the same range
And from the Glorious paper, I fussy cut out the girl the globe bug and the key
I also used the scissors to rough the edges then used the Coffee Archival ink to go around the edges of everything
I used the White Heavy Gesso on all the Memory Maze Chipboard pieces
With the cogs, I wanted a metallic look so I used Silver and Gold Colour Shimmer Brush Markers
For some added texture and colour I added scrapes of  Sienna Colour Paste

Here you can see the cabachon I added to her eyeglass


Here's a closer look at the cogs and other metal pieces I added 
I love the cogs and clocks on the piece I cut out and the Light globe I added from Memory Maze 
I loved the Globe Bugs that are on the paper but in my stash, I had small globes so I thought I would use one over the top for added dimension
Being steampunk themed they use a lot of metal and a lot of the men have moustaches so I thought it only appropriate I add one
Here I added a large metal brad that I have had for years and I stuck the key from the papers I had fussy cut out on it 
I also added a watch because they always have pocket watches and this was the closest to a pocket watch I had 
I then added an Embellish With Flair  Vintage Map Flair as it fitted so well with everything


Thank you for visiting and I hope you will come back soon x