Showing posts with label muslin. Show all posts

07/06/2019

You are... for Creative Artiste Mixed Media Challenges


Hey Everyone

Here is my project for this month on the Creative Artiste Mixed Media Challenge Blog 
Make sure you join in the fun and also check out the other projects by the rest of the design team

I used a quote that I thought suited a lady that doesn't see these things in herself so I thought it only appropriate that I make this for her to remind her that she is all these things

I used Boho Mandala A4 Stencil from Colour Blast which I purchased at Random Arts (a new Aussie online store with very good prices)
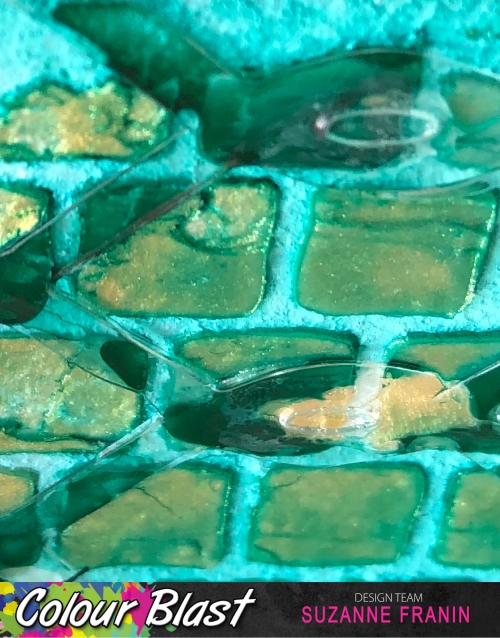
I used Finnabair's Acyrilic Paints - Line Peel and Deep Waters and added water so they mixed a bit in the middle 


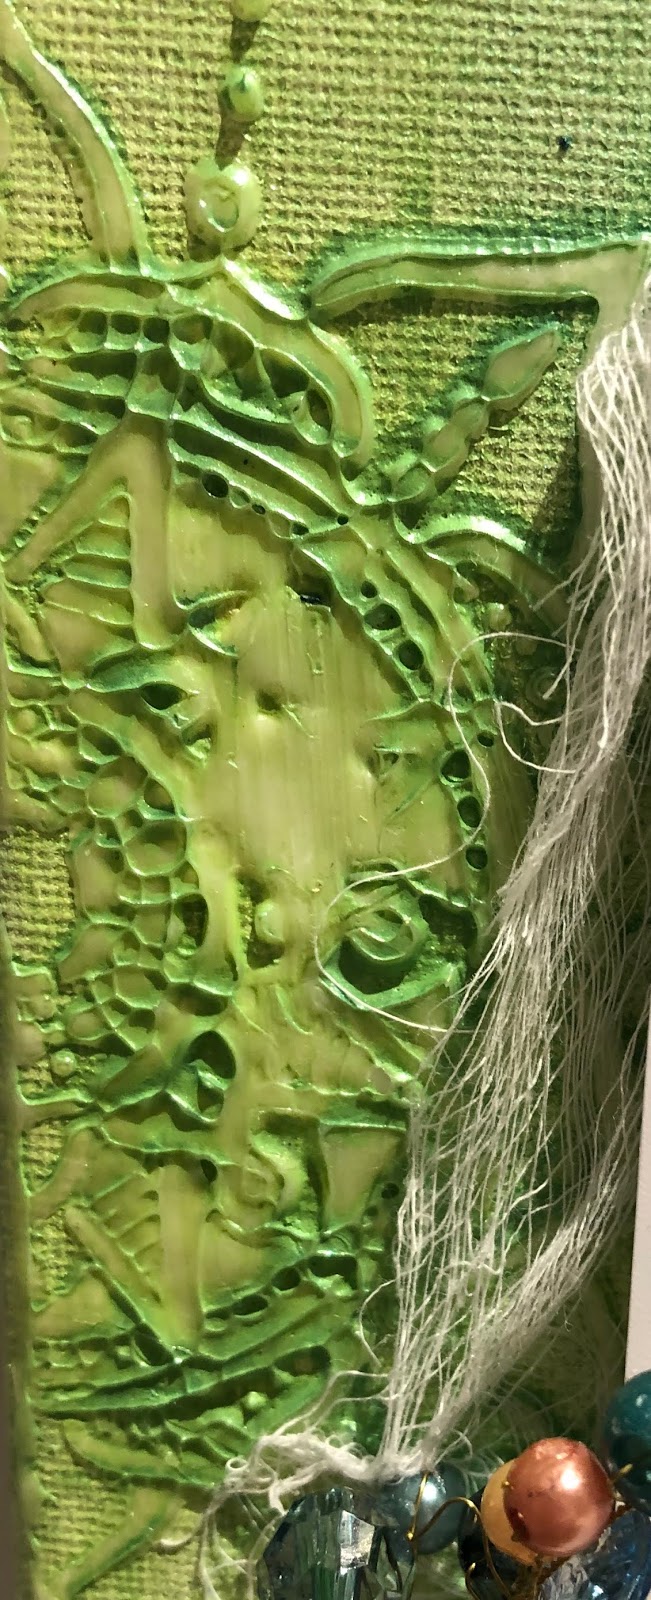
I then embellished with a few bits and pieces I in my stash and added a flair from Embellish With Flairs (they have such a great range make sure to check them out)
A few more embellishments and a touch of gold wax by Finnabair
Then a few sprinkles of some Art Ingredient Glass Glitter placed around for some sparkle and we are done 


Thank you for visiting and I hope you will be back soon x

25/05/2019

Paint Palette for Memory Maze


Hey Everyone

For this weeks project for the Memory Maze Blog I used a paint palette
Make sure to check out the rest of the Design Team's work there is so much inspiration on the Blog
I love mixed media (if you didn't already know that about me)
I love the layers and the textures and how abstract it can be 
There doesn't have to be a theme it can just BE

 So with this palette I added some things that I loved and I loved the way they looked together


I used the Paint Brush Stencil
I started with painting the palette with black gesso then adding the brushes stencil with crackle paste
Once that dried I started adding things, Memory Maze ChipboardEmpty Mason JarsChicken Wire LargeBackground Grid Trellis, flowers, metal, muslin, paperclay shapes, different shaped and sized frames, art stones and a light bulb 

I then painted it all with black gesso


I then used Finnabair waxes in a few different colours over different parts and the very end I used the gold for the final touch and glitter glass to finish it off because you always need a bit of sparkle


Memory Maze Products I used


Paint Brush Stencil


Thank you for visiting and I hope you will be back soon x

06/05/2019

Trinket Box for Colour Blast


Hey Everyone

My project for the Colour Blast Blog is a little Trinket Tin, good to keep earrings or jewellery in when you take it off at the end of the night

All the products I used you can find here as well as a list of suppliers on the Colour Blast Website 


I used 1 layer of the Colour Blast Heavy White Gesso with a sponge - I like the texture it gives 
Sometimes I like use a brush for a different texture depending on what I'm doing over the top of it

I love this Colour Paste Bling it's so bright and shiny and looks great through this stencil
Colour Artist Inks Lollipop (I had an oops the other day and didn't close the lid properly so luckily I always have muslin on hand to mop any spills LOL) It was perfect for the pop of colour this project needed
Colour Shimmer Dust Peacock I added a bit of the powder to my board then added as much water as I wanted the colour to be - darker or lighter
I thought would go well with the Colour Lollipop Artist Ink and the Colour Paste Bling for the face
Dorland's Wax Medium I used over the top of the face to add something extra it gives it a sheen different to the shine that the shimmer dust does


Colour Artist Inks Peacock I used to paint the tin - the plain white gesso looked a bit boring but unfortunately we lost the shimmer of the Colour Paste Bling

Graffiti Grunge Collection Linked in Die I cut it out in acetate so it's a bit hard to see (I did have to put it through the die a few times)


Thank you for visiting and I hope you come back soon x

03/05/2019

Maid of Honour for Creative Artiste Mixed Media Challenges


Hey Everyone

I love these heart canvases and this photo is so beautiful of my daughter and her Maid of Honour 
The photographer captured a glow in their faces it's just gorgeous
So I started off by using the Rosy Stencil over the whole background 

Then I painted the canvas with the Art Alchemy Red Wine
I used the Art Alchemy Metallique Wax in Old Silver with my finger rubbing it lightly over the top which looked great 

But then I decided to use the Prima Midnight Garden products and they have a copper colour foil on a lot of the pieces so I went over the canvas with the Rich Copper wax but I'd put too much so I brushed it again with a bit of the Red Wine and ended up with this colour 

I added the bow then arranged the chipboard stickers and some of the Journal Cards after I stamped randomly with the Paint Chips Clear Stamp


 Before I added the photo I added some muslin over the cardboard that I used to raise the photo up

 I added the flowers they matched perfectly with the ones that the girls had in their hair and bouquets 


Make sure to check out the Blog and enter the Challenge


Thank you for visiting I hope you will be back soon x

27/04/2019

Fairy Sophie for Memory Maze


Hey Everyone

For my project this week I've chosen a photo of my Goddaughter from a few years ago in a fairy costume I had some Memory Maze chipboard Fairies just waiting to be used when I remembered this photo

Make sure to check out the Memory Maze Blog for lots of inspiration and to see the new upcoming designs
We are also on Facebook and Instagram so make sure to check us out on social media as well


I painted the fairy using the Finnabair Art Alchemy Paints Metallique Rustic Brown, Wild Fuchsia, Pure Sunshine, Fresh Orange, White Pearl and Opal Magic Yellow-Blue


I mixed Helmar Super-Tac Glue with some glitter to cover the Criss Cross, Mini Scribble Heart I used
Here's what the heart looked like when it dried


I added some extra colour with Colour Blast Colour Artist Inks Slipper, Citrus and Spice just letting them run down the canvas and into the muslin and glitter I had added

After placing my photo where I wanted it with Helmar Acid Free Glue I stuck the Fairy into place with Super-Tac Glue after adding a flower to her hand


I added some extra embellishments for some dimension and interest  and glued the down with Helmar 450 Quick Dry Adhesive

Memory Maze Products


Thank you for visiting and I hope you come back soon x

05/04/2019

Easter Wreath for Helmar

Hey Everyone 

I made an Easter wreath of sorts for the Helmar Blog this month 


I painted this timber heart with some Art Alchemy Metallique paints - Wild Fuchsia, Fresh Orange, Lime Peel and Pure Sunshine, they are such fresh happy colours 

I used Memory Maze's Scribble Frame over the muslin 

I used 450 Quick Dry Adhesive to adhere all the chipboard and plastic pieces onto the heart 

I used the Foam Glue to stick the bunny down after I cut him in half so he would sit right onto the heart, he's made of polystyrene so the foam glue is perfect

I found these plastic eggs with a chicken in a nest but I didn't want to use the chicken easters about bunnies


Make sure to check out the Helmar Website for all the different glues available and what each one is used for 

Helmar products I used


Thank you for visiting I hope you come back soon x