Showing posts with label stencil. Show all posts

17/07/2019

Hello for Random Arts


Hey Everyone

Here's my latest project for Random Arts a little canvas of such a cutie - she's my friend's granddaughter  
Make sure you check out the BLOG for lots of inspiration from the rest of the team and don't forget to visit our Facebook Page and enter our monthly challenge
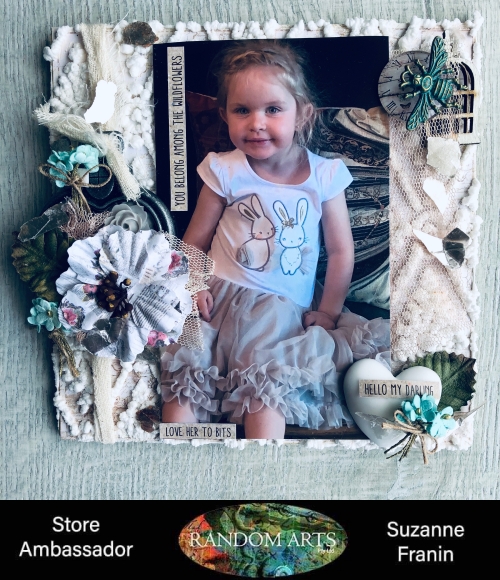

I used an Art Alternatives Wood 6 x 6 Panel and used some Prima 6 x 6 Paper Pad Jodie Lee Butterfly Collection which I used some Helmar Super-Tac Glue spreading it all over evenly so it didn't leave any bubbles

This is awesome Embossing paste - you have to heat it and when you do it puffs up the longer you heat it the more puffed up it gets

I added the little Bee Charm A Patina on top of the cabochon and birdcage for extra dimension
 I randomly added some of the Little Birdie Arctic Ice flowers for a pop of colour 
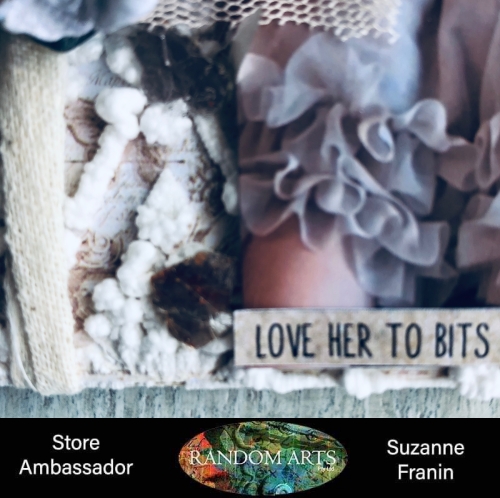
 I used some of the Tim Holtz word stickers to describe this gorgeous little girl
I used the large one and filled it with some material and flowers
 I glued it on top of some material that I tied in a knot and threaded the knot through the top of the locket
Adding some Little Birdie Mica Flakes in Silver randomly around the canvas  
I added the Resin Heart to the corner for balance
The resin looks so good,  they come out so clean from the moulds


Products from the Store

Mica Flakes Silver


Thank you for visiting and I hope you come back soon x

10/06/2019

Mini Art Journal for Embellish with Flair


Hey Everyone 

This time for Embellish With Flair I created a Mini Art Journal great to just throw in your back with some pens or a small watercolour palette and water pens if your travelling and don't have a lot of space or time to do get much done during the day but want to wind down at night with something 


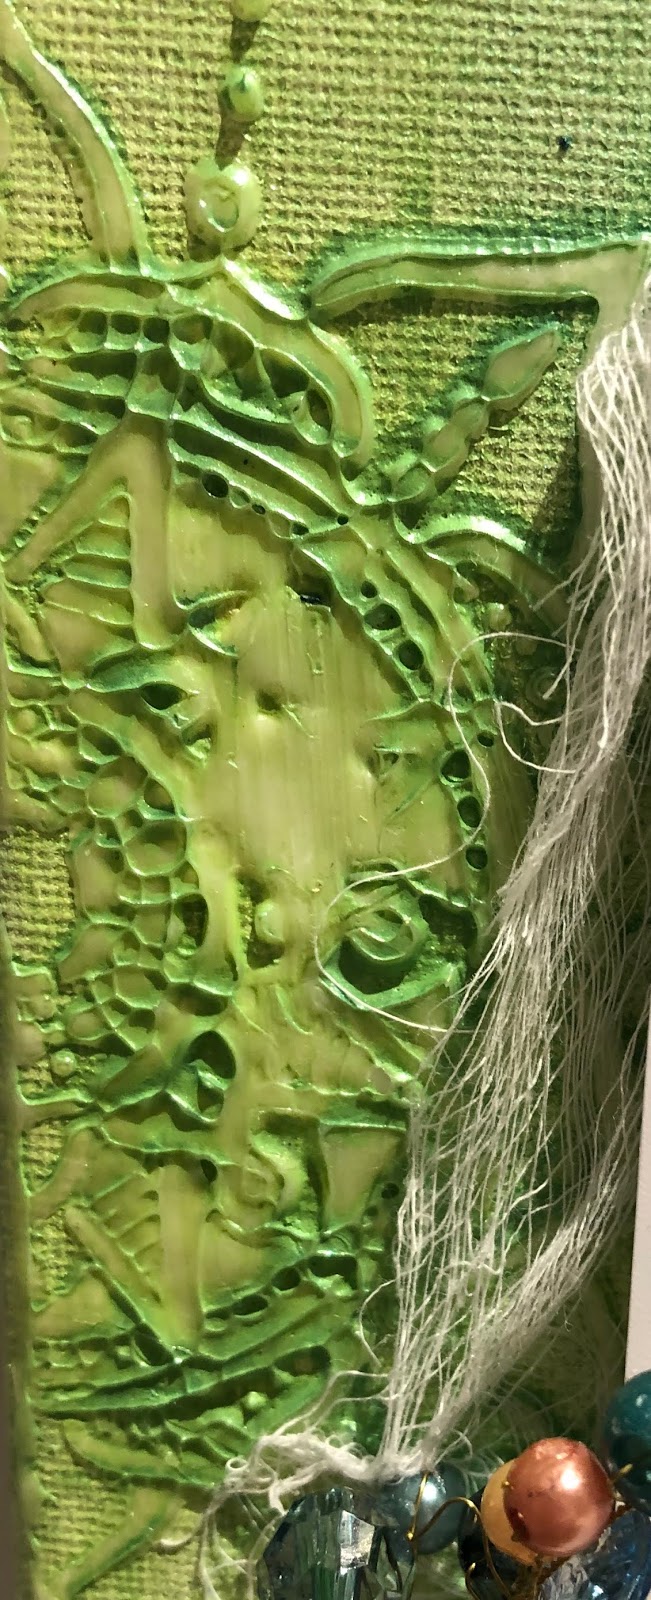
With the background, I used a mini Wire stencil from Memory Maze with some 3D gel medium 
I then used some Mushy Peas Dylusions Paint but that was a bit light, so I then used Bottle Green and Azure Impasto from Finnabair for a mix
 I added some Vanilla Custard Dylusions Paint for the paper clay scroll and then glued the butterfly flair on top of that 
I also glued some other paper clay pieces that were broken bits from other things I'd made for a pop of white then glued the bead strand on top of them 
I painted the paper clay keyhole with Jade Impasto by Finnabair and added a key
Then added some word stickers to the cover
And that's it, it's ready to go travelling with


Embellish With Flair Products I used


Thank you for visiting I hope you will come back soon x

07/06/2019

You are... for Creative Artiste Mixed Media Challenges


Hey Everyone

Here is my project for this month on the Creative Artiste Mixed Media Challenge Blog 
Make sure you join in the fun and also check out the other projects by the rest of the design team

I used a quote that I thought suited a lady that doesn't see these things in herself so I thought it only appropriate that I make this for her to remind her that she is all these things

I used Boho Mandala A4 Stencil from Colour Blast which I purchased at Random Arts (a new Aussie online store with very good prices)
I used Finnabair's Acyrilic Paints - Line Peel and Deep Waters and added water so they mixed a bit in the middle 


I then embellished with a few bits and pieces I in my stash and added a flair from Embellish With Flairs (they have such a great range make sure to check them out)
A few more embellishments and a touch of gold wax by Finnabair
Then a few sprinkles of some Art Ingredient Glass Glitter placed around for some sparkle and we are done 


Thank you for visiting and I hope you will be back soon x

06/05/2019

Trinket Box for Colour Blast


Hey Everyone

My project for the Colour Blast Blog is a little Trinket Tin, good to keep earrings or jewellery in when you take it off at the end of the night

All the products I used you can find here as well as a list of suppliers on the Colour Blast Website 


I used 1 layer of the Colour Blast Heavy White Gesso with a sponge - I like the texture it gives 
Sometimes I like use a brush for a different texture depending on what I'm doing over the top of it

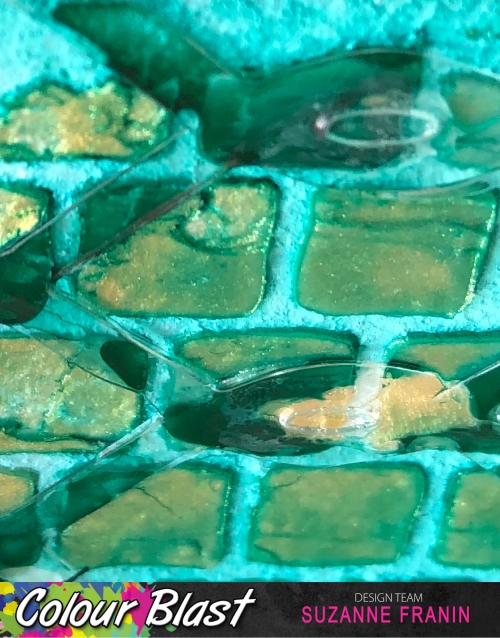
I love this Colour Paste Bling it's so bright and shiny and looks great through this stencil
Colour Artist Inks Lollipop (I had an oops the other day and didn't close the lid properly so luckily I always have muslin on hand to mop any spills LOL) It was perfect for the pop of colour this project needed
Colour Shimmer Dust Peacock I added a bit of the powder to my board then added as much water as I wanted the colour to be - darker or lighter
I thought would go well with the Colour Lollipop Artist Ink and the Colour Paste Bling for the face
Dorland's Wax Medium I used over the top of the face to add something extra it gives it a sheen different to the shine that the shimmer dust does


Colour Artist Inks Peacock I used to paint the tin - the plain white gesso looked a bit boring but unfortunately we lost the shimmer of the Colour Paste Bling

Graffiti Grunge Collection Linked in Die I cut it out in acetate so it's a bit hard to see (I did have to put it through the die a few times)


Thank you for visiting and I hope you come back soon x

02/02/2019

Bling Challenge for Art and Soul Studio


Hey Everyone

This months challenge for Art and Soul Studio is all about Bling and who doesn't like bling 
I love the whole mood board this month it's so feminine, soft and pretty
If you enter the challenge on our Facebook page Soul Sisters you have the chance to win one of three $50 vouchers to spend at the store

The photo is of my chandelier in my bedroom I told hubby when we finally did our room no matter what we are having a chandelier in our room 
It's not a huge grand one it's perfect for the size of our bedroom
I played underneath to take it as it's over our bed


I started off with a timber frame and gessoed it so when I painted it the paint would go on smooth


This is the back of the frame which I painted with gesso as well so I could use the mix of Heavy Body Gel and a fine glitter


I used the mix through the Bohemian Bouquet Stencil


I then used Colour Blast Snow White Embossing Powder randomly on the frame for a bit more bling and sparkle


I had some tulle that has bling in it so of course I had to use that 


I added the stem of flowers and then added some of the other flowers in amongst it all
Then added some plastic bling randomly through out the mix
I had the large blog flower which I love - it fit perfect on this project


As you can see I used a lot of the Rose Gold painting all the metal and paper clay


Products from Art and Soul Studio 
Prima Say it with Crystals from my stash
Prima Flower stem from my stash
Paper clay from Mum
Metal and some bling from my stash
Colour Blast Embossing Powder Snow White


Thank you for visiting and I hope you come back soon x

14/01/2019

Graduation for Colour Blast


Hey Everyone

This weeks project is of my son's Graduation from SEDA 
He did so well, it was the best decision we made to send him there for his last two years of High School
He excelled at all that he did and put 100% into everything
His teacher even said on stage in front of the whole Year 12 classes that Jack was the best student he'd taught in the 7 years that he had worked at SEDA 
So needless to say we were very happy and proud parents

Make sure to check out the Colour Blast Blog and the Shop where you will find links to Facebook and Instagram so you won't miss out on anything that's happening


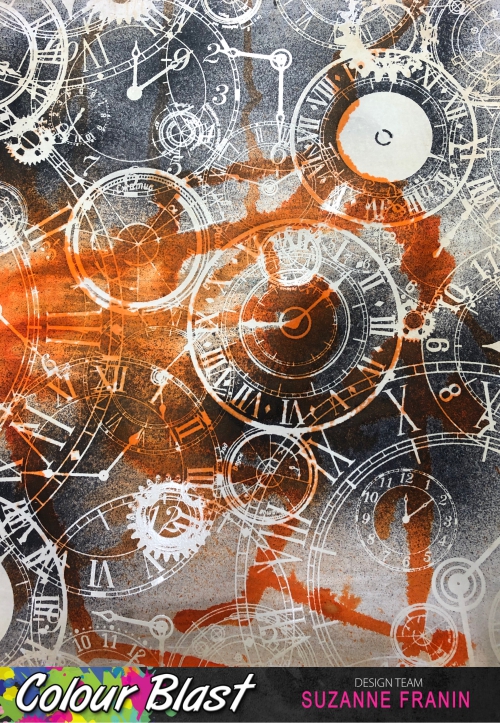
I started with some Colour Blast Colour Artist Ink Spice drips on the paper (Kaisercraft Time Machine it's embossed so it has parts that the ink won't stay on)


I used the Colour Shimmer Dust Midnight which I made into a spray bottle on the background paper as well and then sprayed some paper clay embellishments you can just see a little bit of shimmer in the photo but if you could see them they have so much shimmer


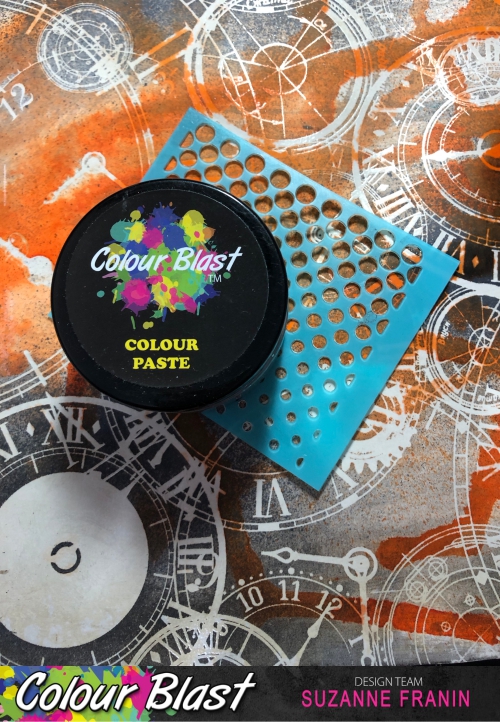
I had a little dot stencil that I used randomly with the Colour Paste Stormy Weather


I added an Art Pebble to the basketball to give it dimension


I had a Flair Button that I thought was perfect for the page so I added it to a bottle cap but it left a gap so I filled in the gap with some Zinc glass beads and added some wings


Awhile ago I had won a pack and it had the word #swag in it so I coloured it with the Colour Artist Ink Spice that was left over on some paper towel that was still wet by patting it till it was all coloured 
I added some metal accents for some interest and dimension


And I added this Make a Difference disc because that's what I think Jack will do with his life


Thank you for visiting and I hope you come back soon x