Showing posts with label glass glitter. Show all posts

15/07/2019

Twinkle Twinkle for Embellish with Flair


Hey Everyone

This project for Embellish With Flair was a fun little project 
Using one of the flairs from the Galaxy, Moon & Stars set 


I used Little Birdie Embossing Texture Paste Aquatini through the stencil then once I heated it so puffed I went over the whole thing with black gesso
After that I used Finnabair's Art Alchemy Sparks Raven Black paint over the background

 Then brushed some Finnabair's Art Alchemy Sparks Unicorns Hair paint over the embossed area and painted the stars with it as well
 I used Finnabair's Art Alchemy Dragons Eye paint over the metal moon 
I used a Tim Holtz sticker onto to add an extra touch
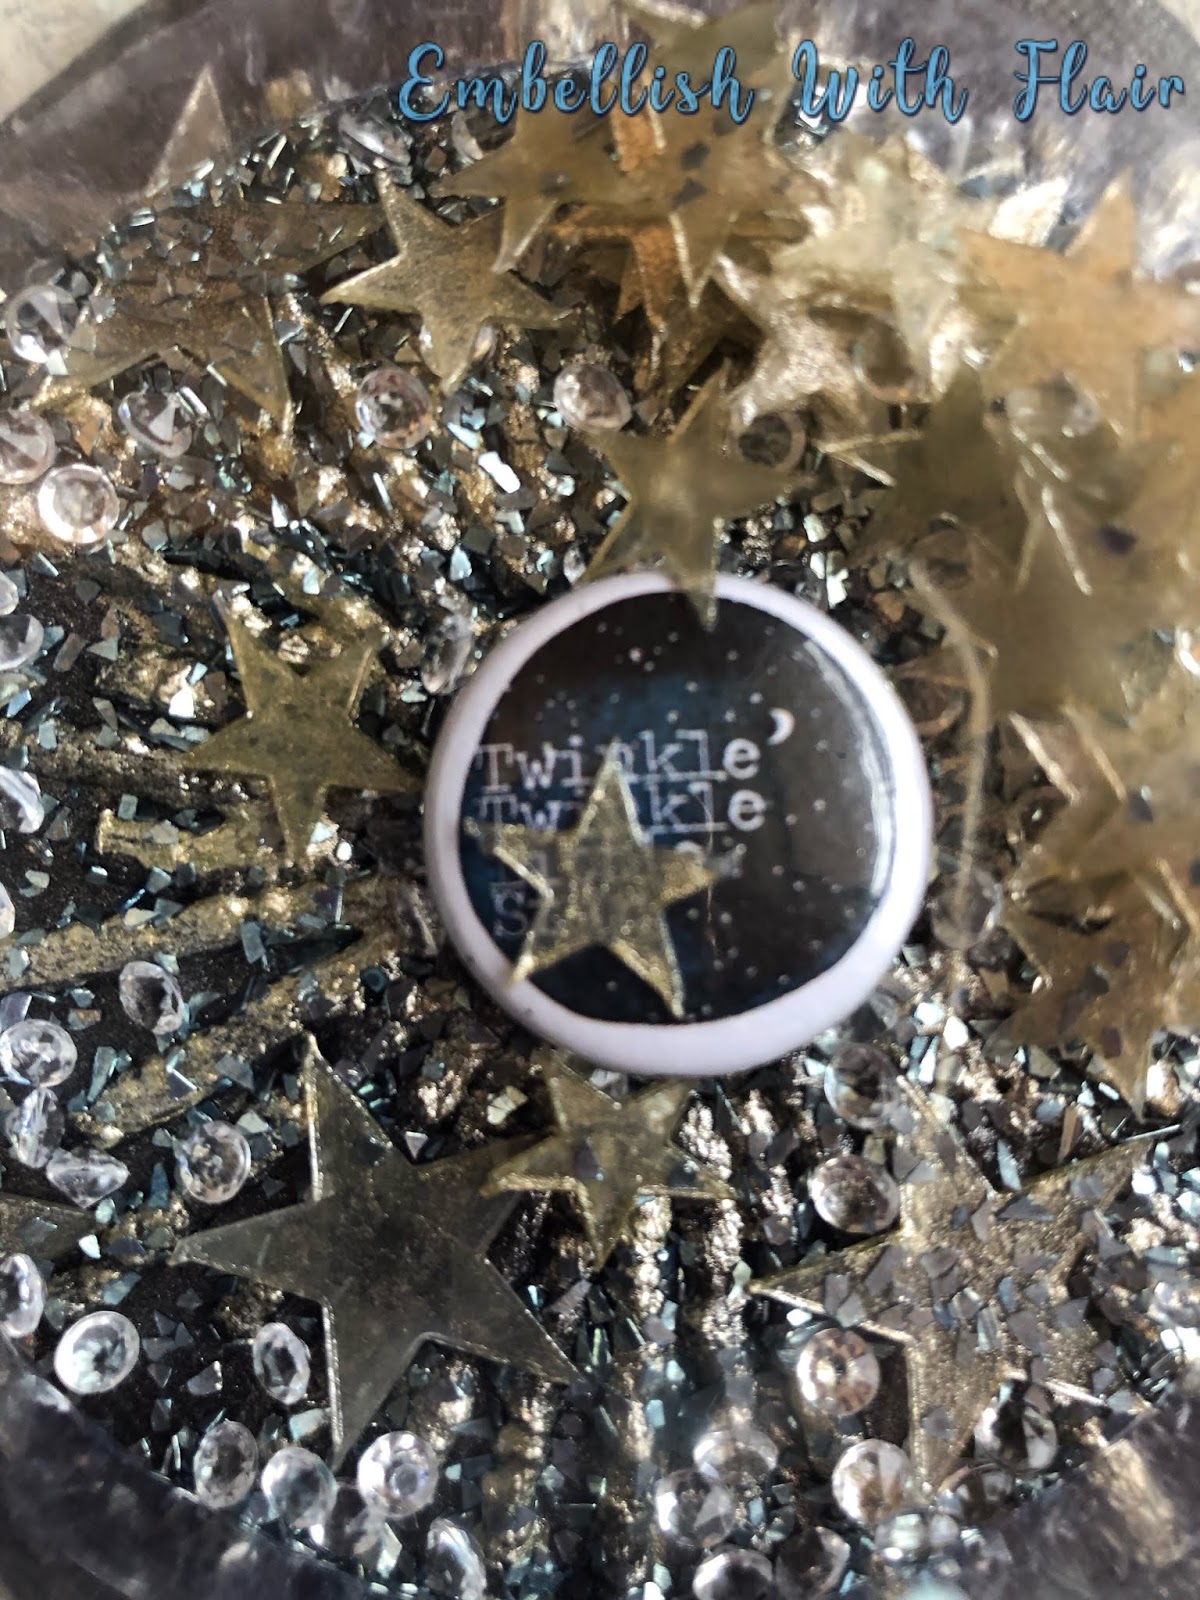
 Inside you can see the clear plastic stars which are from Memory Maze 
I added some clear gems I had in my stash and to pick up on the blue in the flair I added some Art Ingredients Glass Glitter in Platinum
Here you can see all the bits that make it like a shaker box but it's going to get hung up so it all sparkles


From the Store


Thank you for visiting and I hope you come back soon x

11/06/2019

Wander for Memory Maze


Hey Everyone

This time on the Memory Maze blog I created a layout with a photo my son in law took of my daughter at the beach
I love the way he captured her just wandering along 

Make sure to check out the Memory Maze Store because we do custom orders as well

I didn't do a lot to this page as I wanted the photo to stand out

I used the River Pebbles Stencil with sand mixed with 3D Matte Gel
It has great texture and dimension

The Circle Mandala Chipboard I painted with Finnabair Art Alchemy Paint Sparks Unicorn Hair and I brushed a little bit of the paint over the sand for a little shimmer
I used a mould from Prima for the scrolls then used two of the Art Alchemy waxes in the new colours - Old Denim and Blue Lagoon 
I feel like they look a bit like waves and the blue adds some extra colour to the neutral colours of the layout


The quote seemed appropriate for the photo and is from one of Tim Holtz's sticker books 
I used Platinum glass glitter for a bit of extra bling

Memory Maze Products I used


Thank you for visiting and I hope you come back soon x

03/06/2019

You & Me for Colour Blast


Hey Everyone

This week's Colour Blast project I HAD to use the new stencil I'd gotten Colour Blast Boho Mandala Stencil from the Follow Your Dreams range it's so pretty  

Make sure you check out the Shop for the latest releases and the Blog for all the inspiration you need from the talented Design Team
Also, check out our Stockists for our range of products and help out a small business

Look at these two how gorgeous are they 
Mum took them to one of those pop-up shops where they take the pictures in the shopping centres and had a whole heap of photos done and when I saw them I asked if I could do a canvas of one of the photos she said for sure not knowing what I was going to do
It was so hard to pick as there were so many of them together and apart but this was the most fun out of all of them
And lucky for me their mum loved it

 I used the Colour Blast White Heavy Gesso on all the embellishments and the canvas to prime everything so that whatever medium I was going to use on them would adhere with no problem  
I used the Colour Blast Boho Mandala  Stencil from the Follow Your Dreams range with some clear impasto
I'd have to say this is my new favourite stencil it's so pretty
 

With the background, it took a while to work out what colour to go with I was going to do it in Snow White Shimmer Cube but the Lady I made it for said the other colour she liked was purple (she hadn't seen what I was doing with the photo until I was finished)
So I used the Colour Shimmer Cube Royalty 

 I used the Colour Artist Ink Slipper and some water for the flowers as they weren't white and didn't look right 
I also used it on a few of the other embellishments

 I used a Flair from Embellish With Flair it's from the You Make Me Smile Set
I also used some Cocoa Vanilla Studio Happiness Accessory Stickers and Die Cut Ephemera set
 The Heart is from Finnabair and I filled it with some Silver Art Ingredients Glass Glitter and used a Cocoa Vanilla Studio saying sticker from the Happiness collection to put on top same as I did with the saying on the arrow
The chipboard arrow is from a Memory Maze Set Arrow love me and you


Thank you for visiting and I hope you will come back soon x

06/05/2019

Cheers for Memory Maze


Hey Everyone 

Here is my latest layout 
I'm slowly working my way through the wedding photos (it will be their First Wedding Anniversary on the 18th of May lol)
I love this photo of the girls, I better do some of the boys soon though

Make sure to check out the rest of the Memory Maze Blog for loads of inspiration and check out what's new


I had this Wine Glass Chipboard in my stash which was perfect but I didn't want to paint it like I always do so the paper range from Prima I used had this paper in it which is so pretty so 
I glued it to the chipboard waited for it to dry then used a knife to cut around it

I then used some Art Alchemy Wax inAged Brass around the edge to get rid of the chipboard colour to finish it off 

I added a few feathers for something different over the top of the vellum sheet that came with the matching flowers and feathers

 One of the Prima papers has a foil print on the paper so I hand cut around it to make a frame
The little white flowers were out of one of the Prima packs 

One of the Prima sheets of paper had different sized shapes on it and I cut a few different piece from that to lay under the glass and the added another flower 

I then used the Finnabair Art Ingredients Glass Glitter in Copper randomly over the page for some sparkle  

These flowers I got from a cheap shop and added some glass glitter too as well


Memory Maze Product I used


Thank you for visiting I hope you visit again soon x