01/07/2025

Shy


 Hi everyone this post is for Scrapbook Fantasies using the Sunny Days range which is so fun and bright and has such a great variety in the range

This one is a picture of my gorgeous grandson from his daycare picture day 

I start off by using the Sunny Days #1 paper for the background 

Then cut some of both sides of Sunny Days #6 paper and glued them down overlapping the red over the blue

Then using some modeling paste with the Script stencil I randomly place some of the text over the papers 

I add some of the paper to the Chippie Cut Frame and the Chippie Cut Wild & Free

Then add some red to the back of the frame 

I use some of the Sunny Days Colour Cut Leaves for a pop of colour around the page

I found it needed something else and had the Tropical Ambiance Sideways Bird which I felt added to the wild & free feel

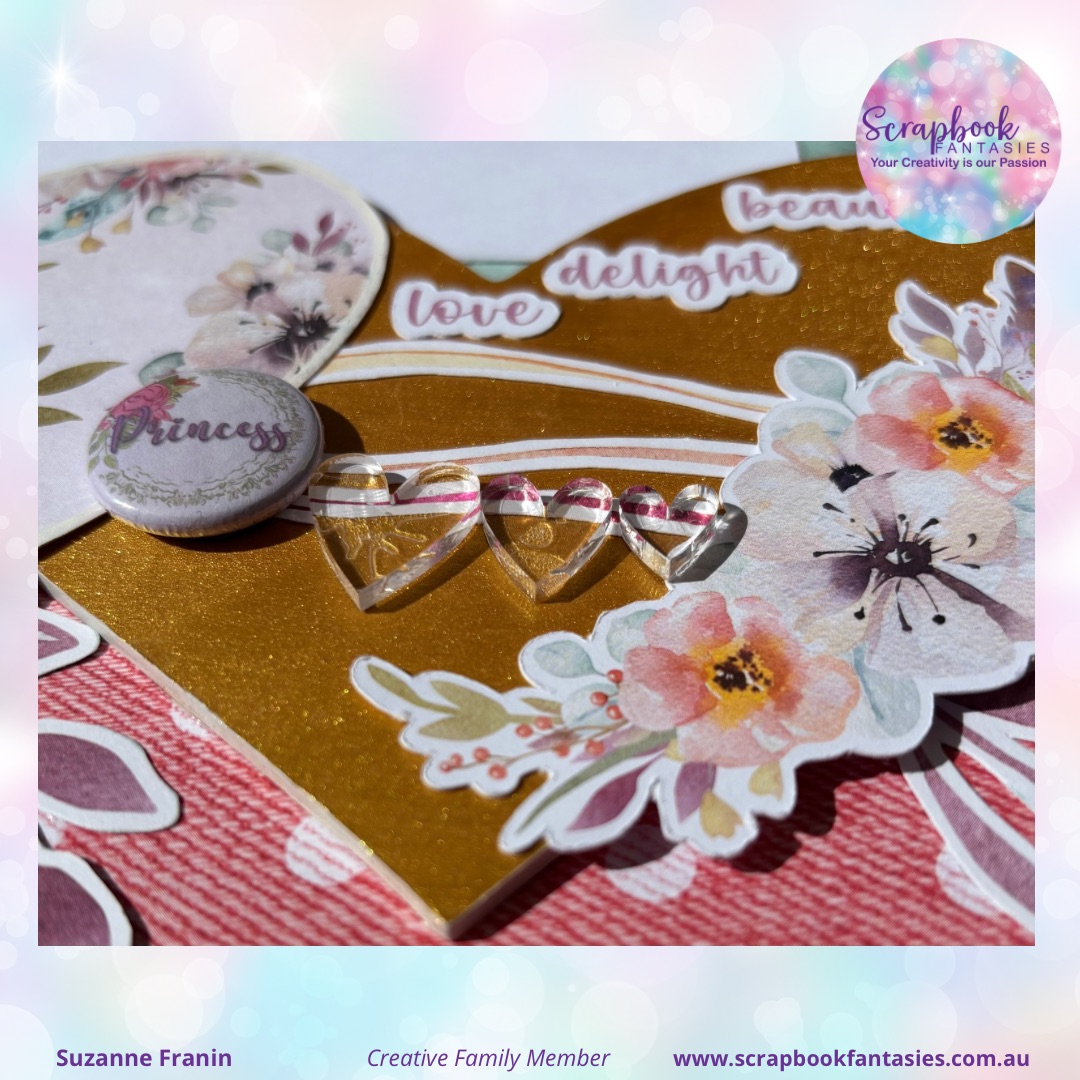
Then to finish off with some embellishments I added an Acrylic Embellies Clear Hearts 

And of course a Wilderness Whimsy Flair Button of my favourite bird an Brown owl


Thank you for visiting and I hope you will come again soon xx


01/06/2025

1 year


Hi everyone this post is for Scrapbook Fantasies featuring the Colour Cut Numbers in the Unicorn Rainbow Set

This canvas is of my gorgeous goddaughter her partner and their beautiful baby girl who just turned 1 which is so hard to believe 
I feel like my goddaughter just turned 1 hahaha

I used some of the Sunny Days range which is so fun and bright and has such a great variety in the range from water to knitted looking paper 
Make sure to check it out and get in fast to get yours


I started off using some moulding paste with the script stencil
Once it was dry I gave it a light coat of white gesso


I used all the numbers randomly around the canvas keeping the number 1 separate 


I used some of the diamonds from the Sunny Days A4 Fussy Cut Elements - Diamonds 5 
I cut 3 of each to layer on top of each other for dimension


I then added some thinned white gesso to the diamonds 
And for an extra touch I put some of the Acrylic Embellies - Clear Diamonds
I love adding these little acrylic pieces, you can slip the, in anywhere without them being to obvious


I painted thinned white gesso over the numbers as well 
I wanted them to be in the background but for the colours to still be seen 


I used both patterns on the Sunny Days A4 Rice Paper - Patterned Halves 1 
Such great rice paper with the two choices


Then to finish off I had to put a flair 


Thank you for visiting and I hope you’ll come back soon xx


Helmar


Hey everyone just a quick one from me using my favourite Helmar adhesive 
I have a little technique I want to share with you 
Our glue is not just for sticking things together it can help make good backgrounds for your projects 


I used the Helmar 450 Quick Dry Adhesive (I’m inpatient and need things done quick lol) this glue drys slightly raised unless you smooth it down of course


As you can see I made lines with the Helmar 450 Quick Dry Adhesive once it was fully dry- it’s best to let it dry on its own


Unless you want more texture - the heat gun causes bubbles in the glue and will leave a very bumpy texture 


As you can see where the glue is it creates a resist type effect so the paint doesn’t go where the lines are and you see the colour of the canvas come through
I used watercolours to paint with but it works with most paints 
It will wipe off the glue areas if you get it on there and it happens to stay there 


To finish off my little canvas I just added an acrylic flower mould and a little heart which I also used the Helmar 450 on


And that’s it for my quick technique 

Thanks for visiting and I hope you’ll be back soon xx


18/04/2025

Adjust the focus for Scrapbook Fantasies


Adjust the Focus seemed so fitting for me right now 

I have so much going on and I just need to sort myself out so adjusting my focus on what's important seems to be what's needed 

When I saw this picture with the quote on it everything felt right 
It goes so well with the Boho Beauty range as well, so it made it so easy to choose what papers and embellishments to use for this project

Make sure to visit the Scrapbook Fantasies Facebook Group and join in on the moodboard challenge 
Don't miss out on the great Free classes that are also offered every week by the lovely 


I used some texture paste over the whole canvas 
once it dried, I painted it with a few different colours
I added a piece of the Boho Beauty Patterned Paper No. 2 which I tore either edge for some more texture


Then I added flowers from the Colour Cuts Bouquets and Words pack and the fussy cut flowers from the Fussy Cut Essentials Flowers 2 sheet 


Of course, I can't get away without a Flair they just add that something extra 


I added some little bling flowers from my stash for some sparkle and its done


Thanks for visiting and I hope you'll be back soon xx


14/02/2025

Be my Valentine


Hi everyone 
Hope you’re all having a great day

It’s my turn on the Helmar blog I created this card for Valentine’s Day using Helmar products

I love their glues, they have a great range and you’ll find something for every project 

Make sure you check out the blog and the rest of the design teams creations and get some inspiration for your next project


Fabric Glue

All the glues I used on my project


I used a piece of cardboard and attached pieces of velvet ribbon with the Fabric Glue


Once the ribbon is dry I cut a heart out then added a row of Fabric Glue around the edge so it doesn’t fray 


While that dried I added some graphite texture paste to the cards background

I used the Tiger Grip to add a little acrylic heart to the side of the velvet heart


I used some Acid Free Glue to the image which I printed on photo paper


I decided I needed to add some ribbon to the card to close it 


So using the Fabric Glue I added a little to the back and a bit to the front under where the heart will go


I used the Super-TAC Glue to add the heart to the ribbon on the card


I printed a little quote and glued that onto some cardboard with some Acid Free Glue for some height 


Then use the Fabric Glue to stick it to the heart


And that’s it all tied up 


Thank you for visiting I hope you come back soon xx


20/01/2025

Dream Catcher For Scrapbook Fantasies


Welcome back to the blog hope you all had a wonderful Christmas and New Year 

I’m sharing my next project for Scrapbook Fantasies using the gorgeous Boho Beauty range

Also make sure to check out the fun projects that the rest of the Design Team over at the Facebook group - Scrapbook Fantasies Creative Family

The family also also share lots of great ideas and very fun and creative videos so make sure to check them out


I love off the page projects so when I saw the Dream Catcher I had to cut it out
I used Patterned Paper No. 3 and gave it a good coat with some of my favourite Acid Free Glue 


I fussy cut the feathers from the Dream Builder Fussy-Cut Additions sheet and the circles, and the hanging “strings” from Patterned Paper No. 5 which I also painted glue over to strengthen them
I also had one of my favourite types of embellishments Flairs this is Flair No.1
I painted the Chippie-Cuts Feathers gold 


I used some more Chippie-Cuts
 A holly stem and a hexagon shape which I used white marker on


Thank you for visiting I hope you visit again soon xxxx


13/01/2025

Heart canvas for Scrapbook Fantasies


Anyway here’s the first project using the gorgeous Boho Beauty range by Scrapbook Fantasies 

Also make sure to check out the fun projects that the rest of the Design Team over at the Facebook group - Scrapbook Fantasies Creative Family

The family also also share lots of great ideas and very fun and creative videos so make sure to check them out


This is a canvas I created using the Boho Beauty Range

I started by using Patterned Paper No. 1 for the background
I had fussy cut the flowers and stems from Patterned Paper No. 6 and had the pale green left over so I used that as my contrast paper where I will place my photo (I just need to print it) 
I also cut down some white for my photo to have a thin border around it
And added one of the strings across the top from Patterned Paper No. 5 


I added some foam dots to the back of one of the Colour-Cuts Bouquets & Words flower bunches and placed it in the corner 


I added my favourite- a flair this Princess Flair matches perfect with the Boho Beauty range 
And I do love Acrylic Embellies they fit anywhere 
These are the Clear Hearts 2


I used some of the words from  the Colour-Cuts Bouquets & Words pack 
They are so dainty and fit so nicely anywhere 
You don’t always need a big title sometimes a few little words can work too


I used the wooden Heart to trace onto Patterned Paper No. 1 then added some stems underneath 


The wooden Heart then got painted gold and glued down so I could glue down the floral heart after adding the foam dots to it 
I used some of the strings from Patterned Paper No. 5  
Then used another Colour-Cuts Bouquets & Words floral bunch to the side of the heart 

Thank you for visiting and I hope you come back soon xxx