Showing posts with label flair button. Show all posts

13/03/2019

Loved for Helmar


Hey Everyone

This week on the Helmar Blog I've created a photo board of my friends fur babies


Dogs (10)

Make sure to check out the rest of the blog for some great ideas and handy hints on what else you can do with your Helmar Glue 

Dogs (9)
I started of with a timber frame that came in two pieces 
Dogs (3)
Then used white gesso to cover the top part only as the base will be filled with the photos

Dogs (8)
I then used Art Alchemy Acrylic Paint Rustic Brown around the frame
Dogs (5)
I drew around the inside of the frame so I knew where to put my photos it also helped with sizing of my photos
Dogs (8)
I used the Acid Free Glue as I was sticking photos down
Dogs (7)

Dogs (8)


Dogs (9)
To glue the frame to the board I used Super-Tac Glue as this one hold just about anything together I also used it to glue my embellishments down
The Super-Tac Glue comes out white but dries clear so you have no evidence of the glue afterwards
 Dogs (11)
I was given the dog tags which was perfect for this project - I had to add but totally loved because these dogs certainly art
Each of the four dogs has a metal paw charm on thier photo for something special

Dogs (11)
This is Le Til she's the only girl amoungst the the four so I had to make sure she had a bow and a flower
Dogs (11)
This photo is of Roland when he was only about 8 - 10 weeks old he was so little
Dogs (11)
This is Vincent when he was a puppy if you look at the photos he's the biggest of them all now


Thank you for visiting I hope you come back soon x

04/02/2019

Teach our Daughters for Memory Maze


Hey Everyone

This week on my blog my project for Memory Maze is about our daughters I saw this quote and it just seemed right (yes I love using quotes I have adult children so it's hard to get photos LOL)


I started off painting the edge of the inside of the canvas with Azure Impasto (not a colour I would normally use but I need to use other than the ones I always use LOL)


I used the Noughts and Crosses Stencil around the edge of the canvas with some Heavy Body Gel
I wasn't happy with Azure so I painted everything with Dylusions Calypso Teal


I then used the Mini Divided Heart Stencil in the centre of the canvas randomly which I then painted with Colour Blast Colour Shimmer Cube - Snow White for some shimmer in the background


I then use some more Colour Shimmer Cubes in a variety of colours but the ones I used on my canvas were - Deep Water, Sunshine, Rose Petal, Punch and Bling


I used the Snow White Shimmer Cube on the Words Fancy Awesome, Spectacular chipboard and some Bling Colour Blast Embossing powder


I used a card from my stash of Project Life cards that I never use and you can see some fabric I've had that for a while 


These are some Prima flowers that a friend gave me so I had to use them and I love flair buttons and this one is so true with the quote


Then I used some little white Kaisercraft flowers on the canvas as well cause I love flowers 


Memory Maze Laser Cuts products I used


Thank you for visiting and I hope you will come back soon x

26/01/2019

Gorgeous for Memory Maze


Hey everyone

This weeks project for Memory Maze Blog is a photo of my daughter and two of her besties having fun

Also don't forget to check out the rest of the Memory Maze Blog for inspiration and new products that come out quite regularly 


I painted the cardstock with black gesso
I used the Swirl Stencil on the background cardstock with 3D Matte Gel then covered it all with the gesso
I then went over the pattern with Art Alchemy Opal Magic Vintage Silk Wax


I painted the Fancy Frame with Art Alchemy Jade Impasto paint then used the 3D Matte Gel to give the frame a textured pattern 
Once the gel was dry I rubbed the Vintage Silk wax over the whole frame


On the chipboard word Gorgeous I used the Raspberry Pink Art Alchemy Impasto Paint for a pop of another colour
Added one of my favourite embellishments - a flair button


Behind the frame I put on of the Project Life cards I've had in my stash for ever and never got around to starting the album


The 3 metal flowers I painted with the Raspberry Pink Impasto then rubbed the Vintage Silk Wax and then added some crystals to the centres

Memory Maze products I used

and a chipboard word Gorgeous


Thank you for visiting and I hope you come back soon x

16/01/2019

Love you to Bits for Art and Soul Studio


Hey Everyone

This weeks project is all paper no mixed media for a change I just love the colours in this paper range from Cocoa Vanilla which I got from the Art and Soul Studio Shop which has a great range of products so make sure you visit and see what your next purchase will be 
Then visit the Blog for some more inspiration


I fussy cut the butterflies from the More than Words - Radiant sheet


Then with the More than Words - Collage sheet I cut it up with all the different pieces so I could use them as layers and I then used some cardboard under a few pieces of the papers and the photo to raise them so there is some dimension


I used a couple of pieces from the More than Words - Treasure paper as well
Then I inked all the edges with the Ranger Archival Ink in Black


Then with the More than Words Chipboard Stickers set I used a few thing such as the flowers, hearts and the little banner


Products I used from Art and Soul Studio

Cocoa Vanilla More than Words- Radiant
Cocoa Vanilla More than Words- Collage
Cocoa Vanilla More than Words- Treasure
Cocoa Vanilla More than Words- Flair Buttons
Some of the products may be out of stock on the website but check with the staff at the shop as they could have them there x


Thank you for visiting and I hope you will be back soon x

14/01/2019

Graduation for Colour Blast


Hey Everyone

This weeks project is of my son's Graduation from SEDA 
He did so well, it was the best decision we made to send him there for his last two years of High School
He excelled at all that he did and put 100% into everything
His teacher even said on stage in front of the whole Year 12 classes that Jack was the best student he'd taught in the 7 years that he had worked at SEDA 
So needless to say we were very happy and proud parents

Make sure to check out the Colour Blast Blog and the Shop where you will find links to Facebook and Instagram so you won't miss out on anything that's happening


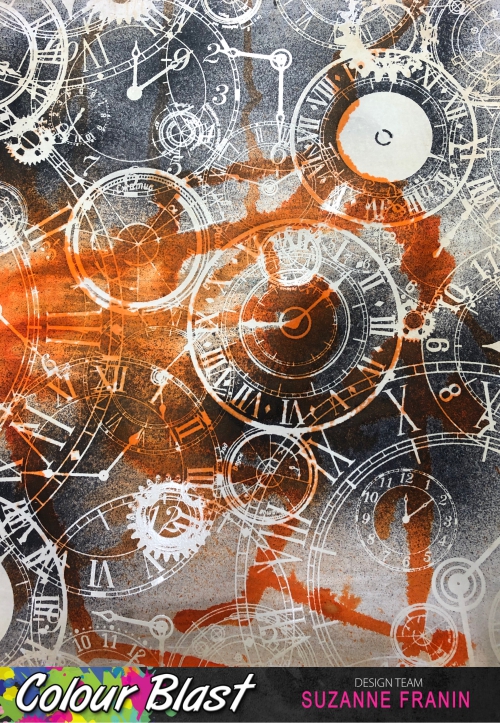
I started with some Colour Blast Colour Artist Ink Spice drips on the paper (Kaisercraft Time Machine it's embossed so it has parts that the ink won't stay on)


I used the Colour Shimmer Dust Midnight which I made into a spray bottle on the background paper as well and then sprayed some paper clay embellishments you can just see a little bit of shimmer in the photo but if you could see them they have so much shimmer


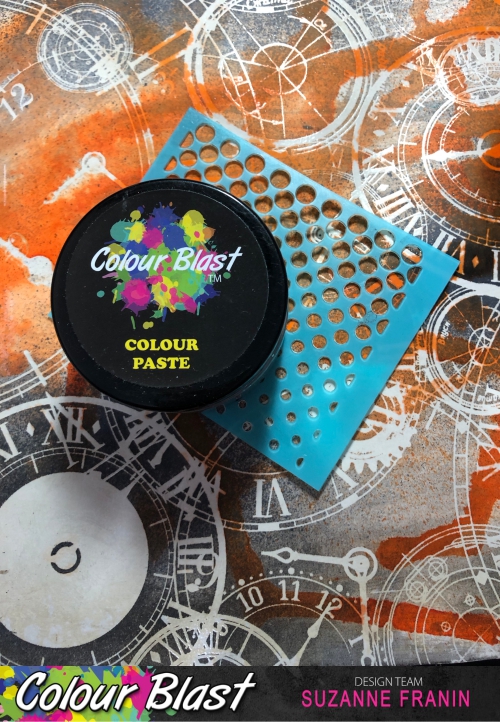
I had a little dot stencil that I used randomly with the Colour Paste Stormy Weather


I added an Art Pebble to the basketball to give it dimension


I had a Flair Button that I thought was perfect for the page so I added it to a bottle cap but it left a gap so I filled in the gap with some Zinc glass beads and added some wings


Awhile ago I had won a pack and it had the word #swag in it so I coloured it with the Colour Artist Ink Spice that was left over on some paper towel that was still wet by patting it till it was all coloured 
I added some metal accents for some interest and dimension


And I added this Make a Difference disc because that's what I think Jack will do with his life


Thank you for visiting and I hope you come back soon x