Showing posts with label Colour Blast Australia. Show all posts

29/06/2019

Last Post for Colour Blast


Hey Everyone

This is my last post for Colour Blast I've decided to step down for health reasons 
I will miss posting projects using these awesome Australian products as we don't have too many too choose from these days
I want to say a HUGE Thank You to Tenisha for choosing me to be on her team and to Kaye for all the hard work she does behind the scenes 
Also to the Design Team thank you you've all been great to work with xxxx

So for my final project, I created a Steampunk type creation using the Limited Edition Paper Range, Sienna Colour Paste, Colour Shimmer Brush Markers - Silver and Gold and lots of cogs from Memory Maze as well as some metal and a clear cabochon over one of her eyeglasses 


I used the clocks and cogs piece from the Stand Out Limited Edition Range and roughed up the edges with the scissors
I then used the strip with the brads on it from the Exception paper from the same range
And from the Glorious paper, I fussy cut out the girl the globe bug and the key
I also used the scissors to rough the edges then used the Coffee Archival ink to go around the edges of everything
I used the White Heavy Gesso on all the Memory Maze Chipboard pieces
With the cogs, I wanted a metallic look so I used Silver and Gold Colour Shimmer Brush Markers
For some added texture and colour I added scrapes of  Sienna Colour Paste

Here you can see the cabachon I added to her eyeglass


Here's a closer look at the cogs and other metal pieces I added 
I love the cogs and clocks on the piece I cut out and the Light globe I added from Memory Maze 
I loved the Globe Bugs that are on the paper but in my stash, I had small globes so I thought I would use one over the top for added dimension
Being steampunk themed they use a lot of metal and a lot of the men have moustaches so I thought it only appropriate I add one
Here I added a large metal brad that I have had for years and I stuck the key from the papers I had fussy cut out on it 
I also added a watch because they always have pocket watches and this was the closest to a pocket watch I had 
I then added an Embellish With Flair  Vintage Map Flair as it fitted so well with everything


Thank you for visiting and I hope you will come back soon x

17/06/2019

Farm Help for Colour Blast


Hey Everyone

Here's my latest project for Colour Blast Australia 
Make sure you check out the latest products from the store
And make sure to check out the Blog as there is always lots of inspiration from the fabulous Design Team there

I got these photos of my gorgeous God Daughter from her day at school where they dressed in farm type clothes to support the farmers and donated money towards it as well
She's not shy when having her photo taken if you can't tell 


I started by spreading Heavy White Gesso over the Spread Your Wings - Earth Angels paper to mute the black a little and for the  Lush Colour Shimmer Dust to stay on top of the paper and not soak through (that's what happens if you don't prime your papers)


I sprayed water onto the paper then dipped a brush into the Shimmer Dust, then lightly tapped the brush randomly over the page
Then with the spatula I spread the water and dust so it would mix and leave different shades over the paper


Here you can see I used different pieces of the Spread your Wings Collection and added the Lush Shimmer Dust to those as well
I had excess on the page so I swiped them onto it so they all got a bit of colour

I had planned on using these flowers on something else and had used the Soot Colour Artist Ink on them but had added extra water to tone them down then in the end didn't use them 
So I added more Soot to them and placed them on the page


I added some straw to give the farm feel and add some texture
And of course every layout needs some metal 
I also added some word stickers that I thought where just right for the photos and for Miss Sophie xx


Thank you for visiting I hope you come back soon x

07/06/2019

You are... for Creative Artiste Mixed Media Challenges


Hey Everyone

Here is my project for this month on the Creative Artiste Mixed Media Challenge Blog 
Make sure you join in the fun and also check out the other projects by the rest of the design team

I used a quote that I thought suited a lady that doesn't see these things in herself so I thought it only appropriate that I make this for her to remind her that she is all these things

I used Boho Mandala A4 Stencil from Colour Blast which I purchased at Random Arts (a new Aussie online store with very good prices)
I used Finnabair's Acyrilic Paints - Line Peel and Deep Waters and added water so they mixed a bit in the middle 


I then embellished with a few bits and pieces I in my stash and added a flair from Embellish With Flairs (they have such a great range make sure to check them out)
A few more embellishments and a touch of gold wax by Finnabair
Then a few sprinkles of some Art Ingredient Glass Glitter placed around for some sparkle and we are done 


Thank you for visiting and I hope you will be back soon x

03/06/2019

You & Me for Colour Blast


Hey Everyone

This week's Colour Blast project I HAD to use the new stencil I'd gotten Colour Blast Boho Mandala Stencil from the Follow Your Dreams range it's so pretty  

Make sure you check out the Shop for the latest releases and the Blog for all the inspiration you need from the talented Design Team
Also, check out our Stockists for our range of products and help out a small business

Look at these two how gorgeous are they 
Mum took them to one of those pop-up shops where they take the pictures in the shopping centres and had a whole heap of photos done and when I saw them I asked if I could do a canvas of one of the photos she said for sure not knowing what I was going to do
It was so hard to pick as there were so many of them together and apart but this was the most fun out of all of them
And lucky for me their mum loved it

 I used the Colour Blast White Heavy Gesso on all the embellishments and the canvas to prime everything so that whatever medium I was going to use on them would adhere with no problem  
I used the Colour Blast Boho Mandala  Stencil from the Follow Your Dreams range with some clear impasto
I'd have to say this is my new favourite stencil it's so pretty
 

With the background, it took a while to work out what colour to go with I was going to do it in Snow White Shimmer Cube but the Lady I made it for said the other colour she liked was purple (she hadn't seen what I was doing with the photo until I was finished)
So I used the Colour Shimmer Cube Royalty 

 I used the Colour Artist Ink Slipper and some water for the flowers as they weren't white and didn't look right 
I also used it on a few of the other embellishments

 I used a Flair from Embellish With Flair it's from the You Make Me Smile Set
I also used some Cocoa Vanilla Studio Happiness Accessory Stickers and Die Cut Ephemera set
 The Heart is from Finnabair and I filled it with some Silver Art Ingredients Glass Glitter and used a Cocoa Vanilla Studio saying sticker from the Happiness collection to put on top same as I did with the saying on the arrow
The chipboard arrow is from a Memory Maze Set Arrow love me and you


Thank you for visiting and I hope you will come back soon x

20/05/2019

Earth Angels for Colour Blast


Hey Everyone
On the blog today I'm sharing a layout I created for a friend of her gorgeous granddaughter and one of her son's (he's also my godson) 
He's a massive Great Dane but as you can see he's a gentle giant and loves everyone as the little one has grown up she's pulled his ears sat on him done all sorts of things and he's just taken it all


Make sure to check out the rest of the Colour Blast Blog for great inspiration from the rest of the team and also check out the Facebook pages for the Kit Club and what's happening with that Design Team as well

So I used a page from the Limited Edition- Uniqueness as I like the muted colours in it but it has the slightly darker edges for the pop of colour
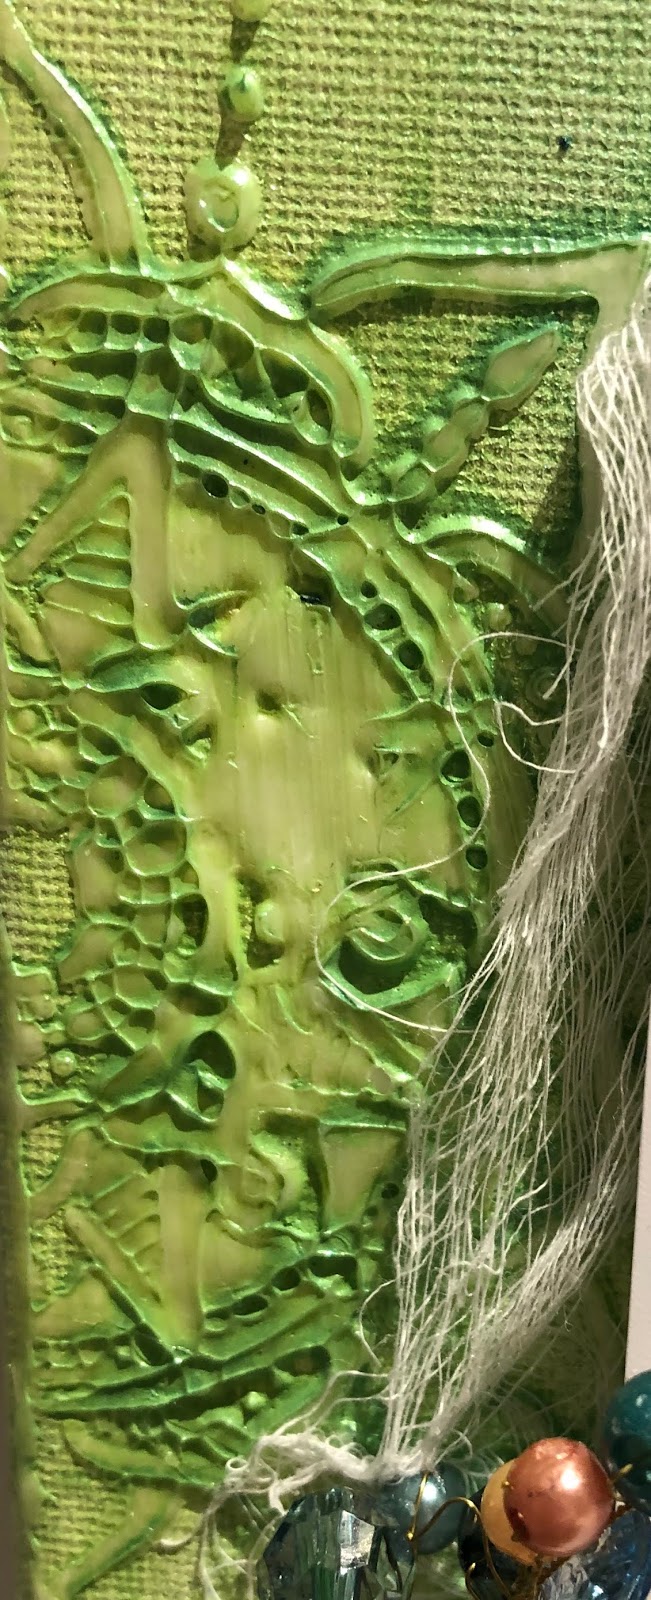
I've been playing with moulds a lot lately  and thought I'd try the Colour Paste in it I did the bling in a different mould and it came out perfect so I thought I would try Steel in this one as I like the lace look
So with my palette knife I spread a layer to cover the whole mould and made sure there was no parts left that you could see that had dips in it or see any of the pink under neath - it was hard to get it to not fill in where the lace parts shouldn't be 
I let it sit overnight so that way I was sure it was dry but before taking it out I used a cutting knife very carefully to take off any pieces that I could see that shouldn't be on there - like in the holes of the lace of course you can't get it perfect but I think it came out pretty good (this mould is used for cake decorating and they have the fondant that sets hard and comes out perfect)
After attaching all my paper pieces where I wanted them I glued the Colour Paste Lace down with Helmar 450 quick dry Adhesive and then added some Mermaid Beads to it for an added dimension
Here you can see some of the different pieces of paper I cut out of the Spread Your Wings - Wing it paper and the Spread Your Wings Elegant Tags 

These green Prima flowers were the perfect colour to go with this paper range and I always need flowers 


Colour Blast Products I used


Thank you for visiting and I hope you will come back soon x