Showing posts with label flowers. Show all posts

19/10/2019

Creativity For Random Arts


Hey Everyone

Here's a post for the Random Arts Blog which I haven't posted to for a while as I've had a few health issue which one included breaking my hip while taking my hubby to get his replaced - ironic I know LOL we were the talk of the hospital 

Any way I saw this quote 
I thought I'd lost my creativity I thought it had just gone and I could craft anymore with everything that has gone on with my depression and the hip and a few other things I just couldn't get into it
Then reading this quote made me realise how true it is
I knew I just had to start
So this is the first piece back it's simple but it was fun to do 


I thought it only fitting to use a paint palette seeing as that was what the quote was on
So I painted it with white gesso using a sponge to give it texture
 Then using the Lindys Magical Shakers I randomly used the three colours around the palette drying each colour as I went 
I love the way they blend into each other and can make extra colours
Here you can see I added the Little Birdie - Embossing Texture Paste - Aquatini and Frosty Fizz randomly with a palette knife
I love this paste the way the more you heat it the more it puffs
 This patch of Frosty Fizz I added some Alpine Ice Rose Magical's to it for some more colour then added the Silver Rhombus Spear Charm on top
 I added the Finnabair Old Silver Wax to the resin scissors, paintbrush and texta to make them pop
 I love the Patina Bee he's one of my favourite bits of metal in my collection
He adds that pop on the flower that was needed
I love flowers I think they soften things and add extra colour where it's needed

List of products I used from the Random Arts Store

Alpine Ice Rose, Guten Tag Teal, Yodeling Yellow
Embossing Texture Paste - Aquatini and Frosty Fizz
Handmade Flower Natasha Arctic Ice
Handmade Flower Embossed Daisies Pearl Pink
Handmade Flower Argyle Lemon
Finnabair - 
Wax - Old Silver
Vintage Steampunk Clocks - 3
Bee Charm A Patina
Silver Rhombus Spear Charm
Staples Shabby Chic Metal Door Plates & Knobs
Vintage Scissors Lge
Paint brush, Texta and two Prima flowers from my stash


Thank you for stopping by I hope you come back soon x

17/07/2019

Hello for Random Arts


Hey Everyone

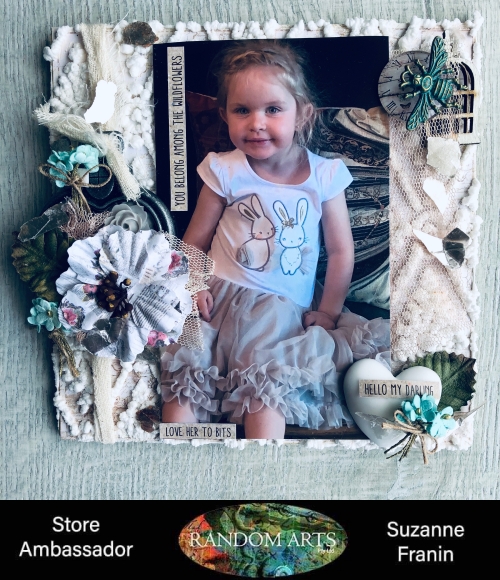
Here's my latest project for Random Arts a little canvas of such a cutie - she's my friend's granddaughter  
Make sure you check out the BLOG for lots of inspiration from the rest of the team and don't forget to visit our Facebook Page and enter our monthly challenge


I used an Art Alternatives Wood 6 x 6 Panel and used some Prima 6 x 6 Paper Pad Jodie Lee Butterfly Collection which I used some Helmar Super-Tac Glue spreading it all over evenly so it didn't leave any bubbles

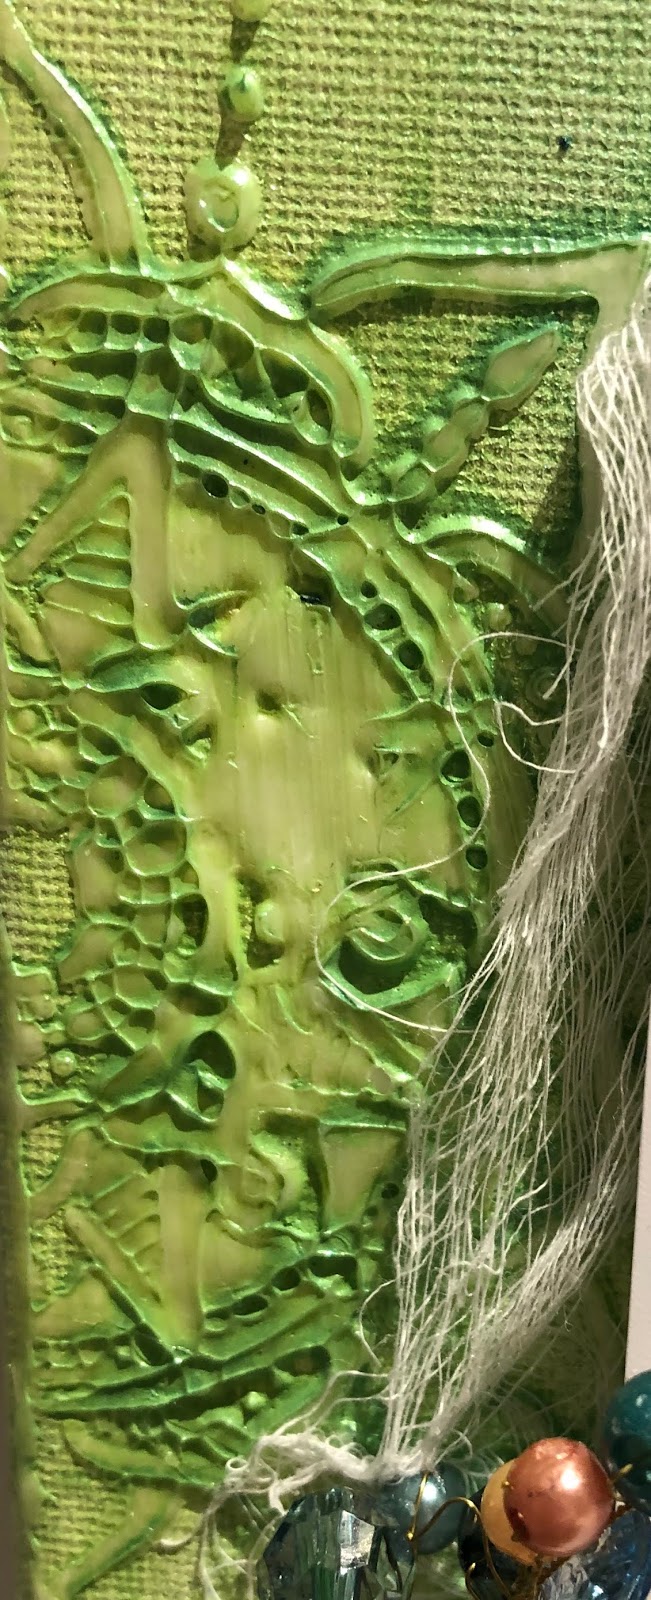
This is awesome Embossing paste - you have to heat it and when you do it puffs up the longer you heat it the more puffed up it gets

I added the little Bee Charm A Patina on top of the cabochon and birdcage for extra dimension
 I randomly added some of the Little Birdie Arctic Ice flowers for a pop of colour 
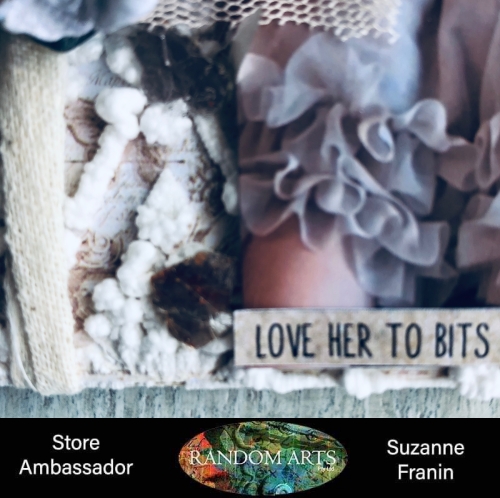
 I used some of the Tim Holtz word stickers to describe this gorgeous little girl
I used the large one and filled it with some material and flowers
 I glued it on top of some material that I tied in a knot and threaded the knot through the top of the locket
Adding some Little Birdie Mica Flakes in Silver randomly around the canvas  
I added the Resin Heart to the corner for balance
The resin looks so good,  they come out so clean from the moulds


Products from the Store

Mica Flakes Silver


Thank you for visiting and I hope you come back soon x

02/07/2019

July Challenge for Random Arts


Hey Everyone

This is my first post for the Random Arts Blog
And I'm starting off with the July Challenge
It's so exciting and I love this mood board with all the vintage pieces I used 

Here's my take 


Mood Board Challenge Rules
  Please use our mood board as inspiration
to create anything in any style.
As these challenges are sponsored by Random Arts Pty Ltd please make sure that you use at least 3 products that are available instore. Random Arts
There are 3 x vouchers up for grabs every month!!
1x$50, 1x$25 & 1x$15
You can enter as many times as you like, but you cannot win all three.
You have until the 11:59pm on the 31st July to enter
and then the entries with the most votes from the group win
Please note that the vouchers can only be won by residents of
Australia but if you are from overseas and win the challenge
you will be offered a Guest Designer spot.
Make sure you put your entry in the challenge album in our 
Random Arts Creative Group to win.


I started off using clear gesso to adhere the doily to the canvas
I then stencilled over the top with a clock stencil I had with some Finnabair Art Extravagance Icing Paste in White Gold but it smudged uneath but most of it got covered any way


 I used Finnabair Art Alchemy Metallique Wax in White Gold on most of the plain embellishments that needed colour 
Here you can see some of the Resin Wings from the Resin Creations in Store


  I used 3 butterflies from the Tim Holtz Idea-Ology Thrift Shop Ephemera pack I also used some of the cards and a mannequin that was in the pack which you see below

 I used some Tim Holtz Idea-Ology Heirloom Roses scattered over the canvas they are so pretty and easily changeable by adding a little colour or painting them with gesso you can change the colour fully 

The Prima Marketing Resin Frame  I covered in the White Gold Wax and stuck some of the AB Studio Vintage Elements 5/6 paper that I cut to fit underneath it
I then added some Art Stones randomly and brushed everything with a light coat of the White Gold Icing Paste

 The picture of the lady is from a pack of cards I have in my stash

Products I used from the Random Arts Store

Thank you for visiting and I hope to see you soon x

17/06/2019

Farm Help for Colour Blast


Hey Everyone

Here's my latest project for Colour Blast Australia 
Make sure you check out the latest products from the store
And make sure to check out the Blog as there is always lots of inspiration from the fabulous Design Team there

I got these photos of my gorgeous God Daughter from her day at school where they dressed in farm type clothes to support the farmers and donated money towards it as well
She's not shy when having her photo taken if you can't tell 


I started by spreading Heavy White Gesso over the Spread Your Wings - Earth Angels paper to mute the black a little and for the  Lush Colour Shimmer Dust to stay on top of the paper and not soak through (that's what happens if you don't prime your papers)


I sprayed water onto the paper then dipped a brush into the Shimmer Dust, then lightly tapped the brush randomly over the page
Then with the spatula I spread the water and dust so it would mix and leave different shades over the paper


Here you can see I used different pieces of the Spread your Wings Collection and added the Lush Shimmer Dust to those as well
I had excess on the page so I swiped them onto it so they all got a bit of colour

I had planned on using these flowers on something else and had used the Soot Colour Artist Ink on them but had added extra water to tone them down then in the end didn't use them 
So I added more Soot to them and placed them on the page


I added some straw to give the farm feel and add some texture
And of course every layout needs some metal 
I also added some word stickers that I thought where just right for the photos and for Miss Sophie xx


Thank you for visiting I hope you come back soon x

14/06/2019

Grandma and Natalii for Helmar


Hey Everyone

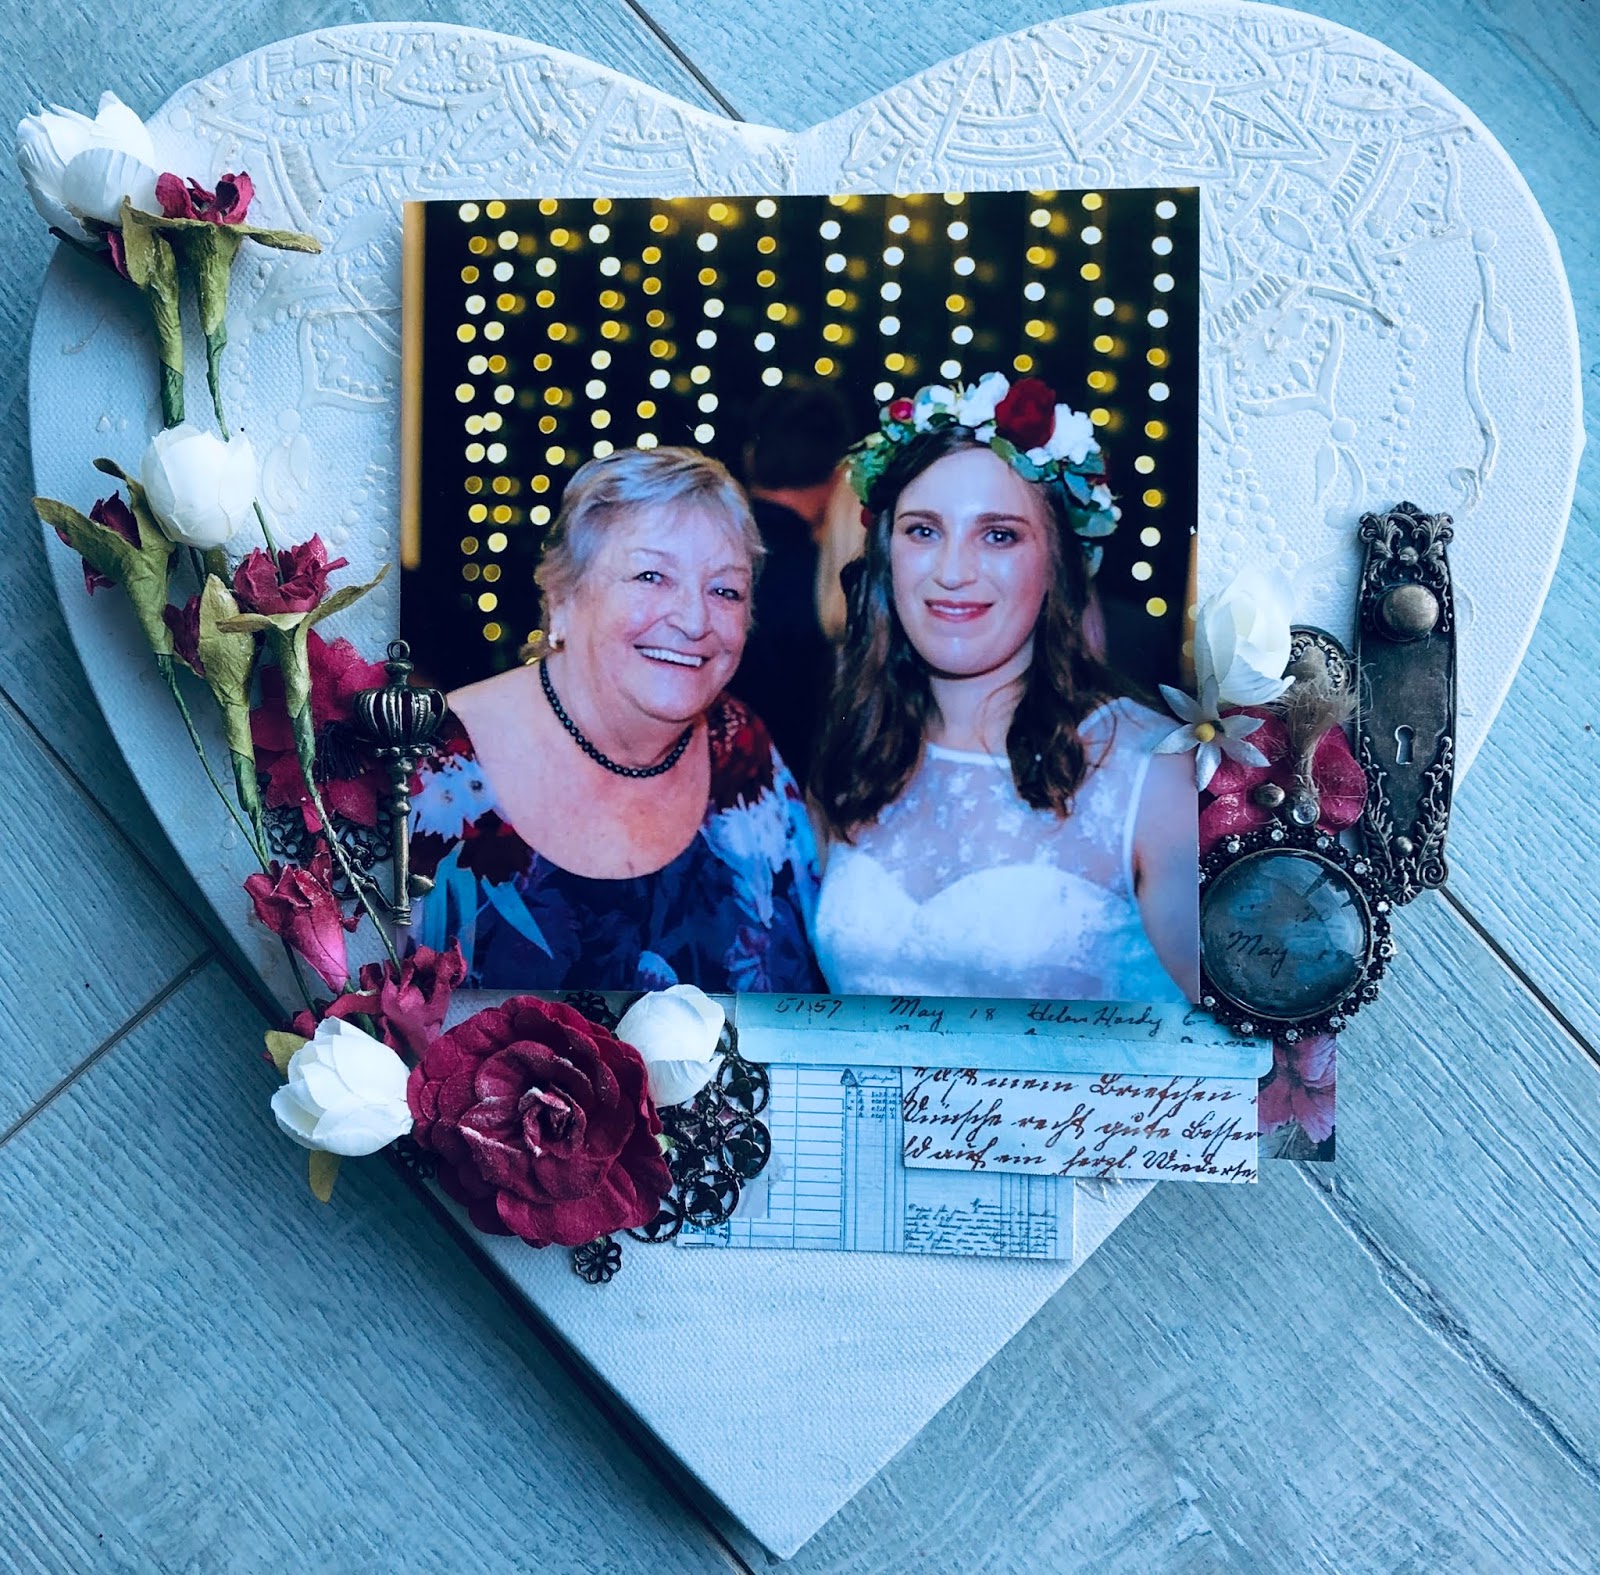
This project for Helmar was a Birthday present for my mum, she's very hard to buy for as she buys what she wants and always says nothing when asked what she would like 
This is a special photo as it's of my mum and my daughter 
It's a rare thing LOL the 3 of us don't really like our photos taken so being Natalii's wedding it was a perfect opportunity to get some done (I was in this photo too but I didn't look right I was more off to the side, so I cropped myself out and it was perfect of the two of them)


I used the Acid Free Glue on the cardboard that I put the photo on to mount it up a bit higher 

The stencil I used is from Colour Blast called Boho Mandala but I bought it from Random Arts 
The papers are pieces from the Midnight Garden Range either from the Journaling cards or some of the paper range off cuts I have 
I also used the Acid Free Glue on the papers that I glued together before I glued them to the canvas which I glued them down with the Premium Craft Glue
To glue the vellum type paper I used the Acid Free Glue and then to glue the clear cabochon on I used the Premium Craft Glue
The paper had the Wedding date on it which was quite a coincides as it was from a pack of flowers from Prima
I used the Premium Craft Glue to glue all the embellishments down as it's a great strong glue and holds everything down including all the metal I used

The white flowers are from a cheap shop but all the red ones including the stem are all Prima (I love their flowers and the colour was perfect for this canvas)
I love metal it just goes with everything and these are a mix of random pieces I had, Graphic 45 and Finnabair 
I then rubbed everything with some Art Alchemy Opal Magic Wax in Vintage Silk one of my favourite colours in the waxes as its subtle and has a nice shimmer to it 
It lifted the stencilled image enough that it didn't jump off the canvas but you can see it


Helmer Products I used


Acid Free Glue


Thank you for visiting and I hope you come back soon x

07/06/2019

You are... for Creative Artiste Mixed Media Challenges


Hey Everyone

Here is my project for this month on the Creative Artiste Mixed Media Challenge Blog 
Make sure you join in the fun and also check out the other projects by the rest of the design team

I used a quote that I thought suited a lady that doesn't see these things in herself so I thought it only appropriate that I make this for her to remind her that she is all these things

I used Boho Mandala A4 Stencil from Colour Blast which I purchased at Random Arts (a new Aussie online store with very good prices)
I used Finnabair's Acyrilic Paints - Line Peel and Deep Waters and added water so they mixed a bit in the middle 


I then embellished with a few bits and pieces I in my stash and added a flair from Embellish With Flairs (they have such a great range make sure to check them out)
A few more embellishments and a touch of gold wax by Finnabair
Then a few sprinkles of some Art Ingredient Glass Glitter placed around for some sparkle and we are done 


Thank you for visiting and I hope you will be back soon x