Showing posts with label paperclay. Show all posts

25/05/2019

Paint Palette for Memory Maze


Hey Everyone

For this weeks project for the Memory Maze Blog I used a paint palette
Make sure to check out the rest of the Design Team's work there is so much inspiration on the Blog
I love mixed media (if you didn't already know that about me)
I love the layers and the textures and how abstract it can be 
There doesn't have to be a theme it can just BE

 So with this palette I added some things that I loved and I loved the way they looked together


I used the Paint Brush Stencil
I started with painting the palette with black gesso then adding the brushes stencil with crackle paste
Once that dried I started adding things, Memory Maze ChipboardEmpty Mason JarsChicken Wire LargeBackground Grid Trellis, flowers, metal, muslin, paperclay shapes, different shaped and sized frames, art stones and a light bulb 

I then painted it all with black gesso


I then used Finnabair waxes in a few different colours over different parts and the very end I used the gold for the final touch and glitter glass to finish it off because you always need a bit of sparkle


Memory Maze Products I used


Paint Brush Stencil


Thank you for visiting and I hope you will be back soon x

13/05/2019

Steampunk Wreath for Embellish with Flair


Hey Everyone

Here is my first project for Embellish With Flair
Also make sure to check out the rest of the BLOG to see what our team have come up with for inpsiration

I love Steampunk so it was perfect that I got the Steampunk Flairs 


It's sitting a bit lopsided as the flowers under the owl are a bit heavy and I couldn't get it to sit right 
I started with a polysterene ring then wrapped some sheer material around it 
After that I used my glue gun to add some extra texture because I knew I wanted to add some wax later for some more colour
I then painted it with a mix of a rust paint and brown paint for that steampunk vintage look

I used some plastic wings which I painted with clear gesso first so the wax would adhere to them then add the clock faces flair to the centre 
Under them I used a paper clay clock which was also painted with was 

With this flair it had cogs and bits so I added metal around it and a clock with a nice red rose to offset all the browns
This is the third flair in the set and again I added a rose and some more metal - Steampunk is all about metal and findings I think that's why I like it so much
Here you can see some of the metal and a close up of the paper clay clock I used I added a light rub of gold wax to the top of everything once I was finished glueing everything down
Another obsession is owls and you'll see quite a few on my projects this one is made of paperclay and the flower piece underneath is made of plaster which I found along the way and it went perfect with this project 
I added some twine under the owl for some added detail
To finish the whole project I went around with some Gold glass glitter by Finnabair mixed with some Helmar Super-Tac Glue and placed it randomly for some sparkle and extra texture


Thank you for visiting I hope you come back soon x

05/04/2019

Bunny for Creative Artiste Mixed Media Challenges


Hey Everyone

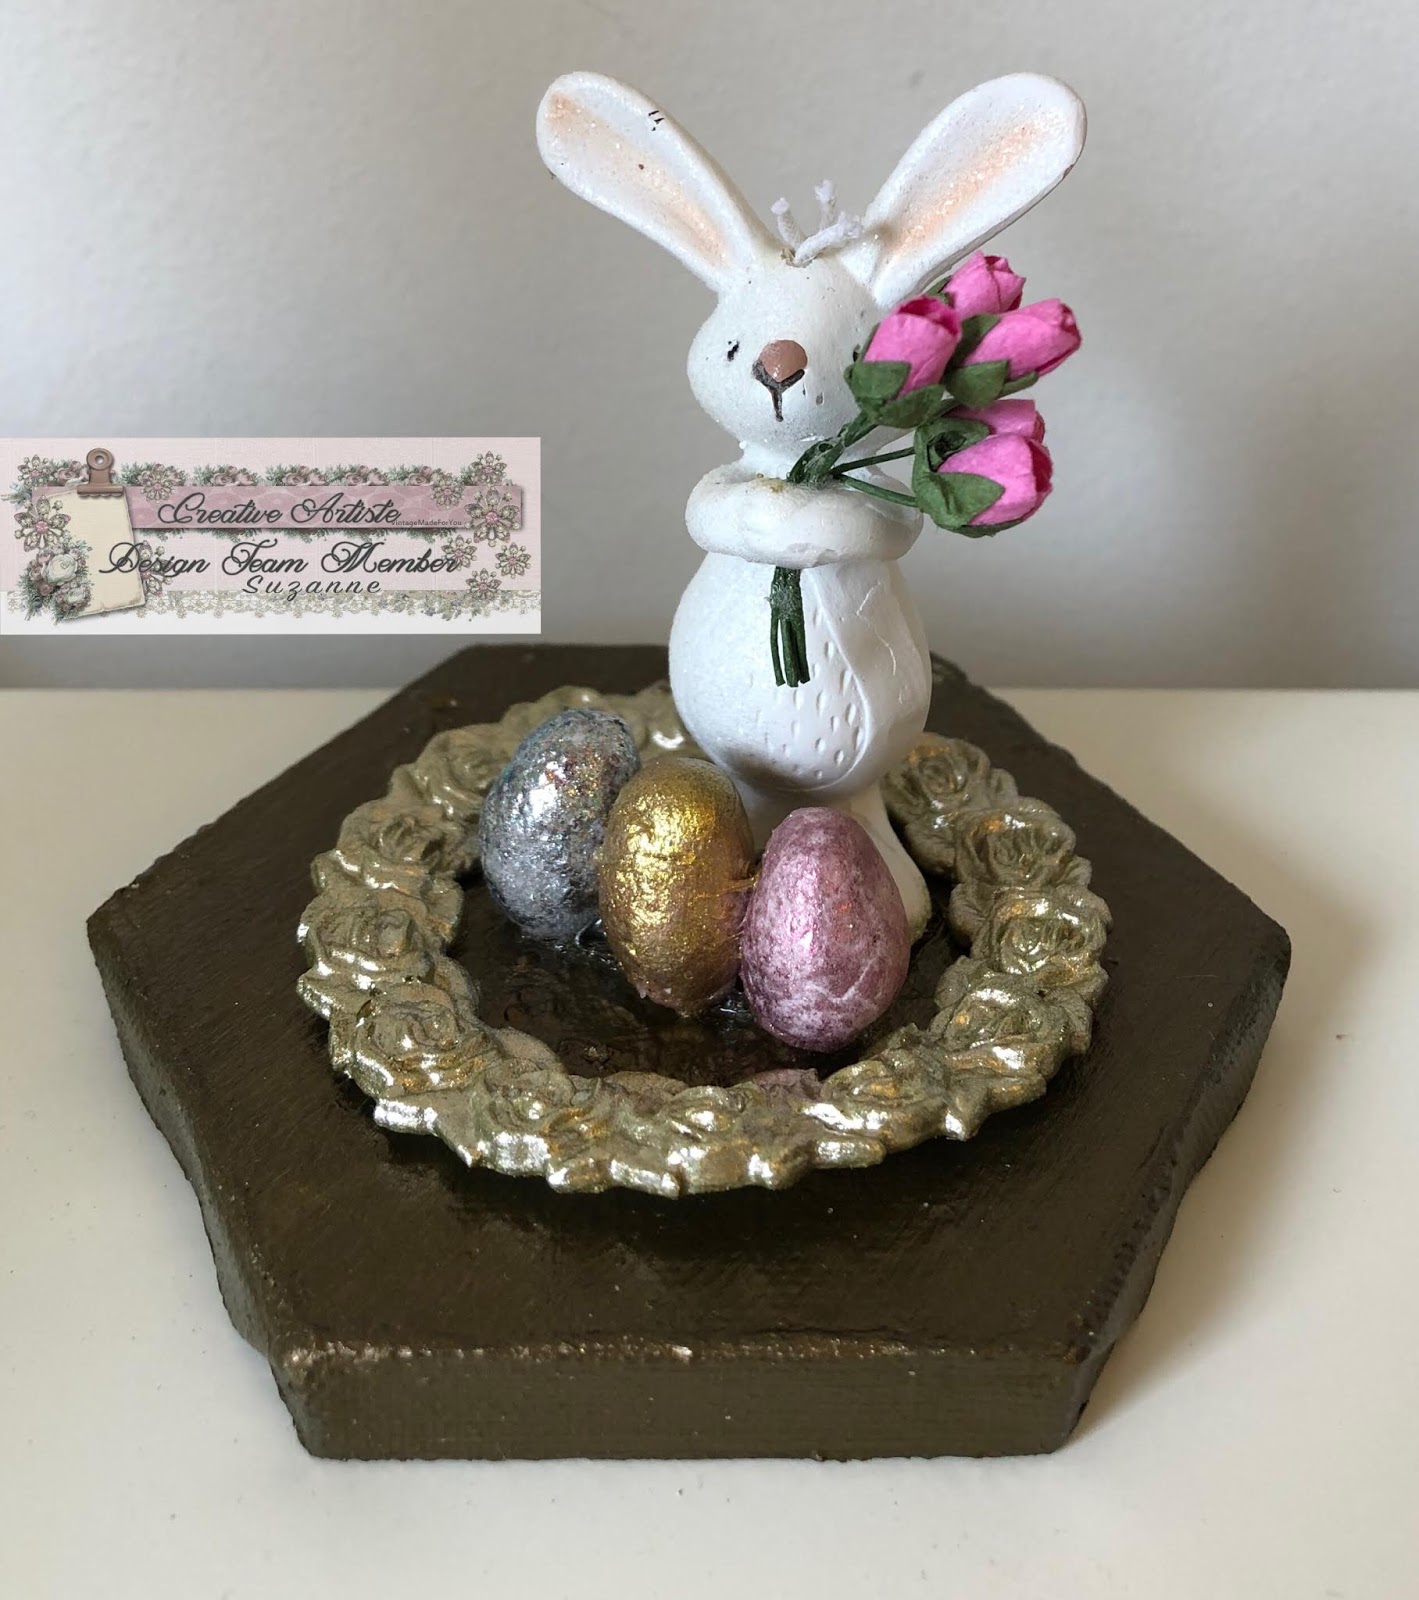
My project for Creative Artiste Mixed Media Challenges Blog is for Easter
This project was fun and the bunny is so cute 
I got him from Bed, Bath and Table


I changed him a little he came with elastic on his head so you can hang him but I cut it off and added an extra piece to make it look like hair
He also came with a balloon in his hands which I changed for tulips which are easter flowers and my favourite as it so happens

I made a ring of flowers with some paper clay and mum's mould and then made some eggs with the clay

I used a mini hexagon canvas and painted it with Art Alchemy Paint in Metallique Rustic Brown and the ring flowers in Sparks Unicorn's Hair then used foil to cover the eggs except the one in the centre, I tried to use wouldn't work so I painted that with Sparks Dragon's Eye 


Thank you for visiting and I hope you come back soon x

23/03/2019

Create for Memory Maze


Hey Everyone

For my Memory Maze project this time I felt like colour and randomness LOL 
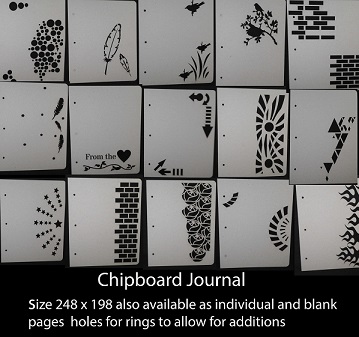
So I used one of the Chipboard Journal pages gathered up some bits picked some colours and off I went


I started with some 3D gel and the Diamond Stencil and just chose a few spots to put the diamonds to go with the pattern on the chipboard page

After arranging things how I wanted them and glueing them down I painted everything with white gesso (I painted in layers so I made sure everything was covered) 

 I then chose 4 Colour Blast Colour Shimmer Dusts to use put only used 3 - Lollipop, Sunflower and Amber

 I started with the Lollipop as you can see it's very vibrant 

 Then adding the other colours you start to get a mix so you end up with more than just 3 colours

Here you can see I used the Silver Micro Beads which I mixed with some Helmar Super-Tac Glue and placed them randomly over the Journal

I used the some of the small 12 x 12 All there is is Cogs together 


This is one of the birds and nests that is part of a set (I couldn't find them on the site so you can message Sally at Memory Maze and I'm sure she will find them for your local shop) 

Here is one of the many feathers from the Feathers, Feathers mixed Dreamcatcher Feather they have some many sizes and shapes it was hard to choose 

 Because I've called this page Creative I added a music note, scissors, buttons, a screw, a zip and more that you can use while being creative 

 I love flowers so I couldn't not use some 
I think the pop of white also breaks up the colour


I love these scissors they are paper clay that my mum has the  mould for 
Once I was happy with the colours over the Journal I used some Art Alchemy Opal Magic Vintage Silk Wax over the top of everything to give it an extra shimmer


Memory Maze Products


Birds and Nests (Ask for those)


Thank you for visiting and I hope you will come back soon x

27/02/2019

Flower Nymph for Helmar


Hey Everyone

This time on the Helmar Blog I created a cage filled with flowers and a Nymph hiding in amongst all the of them

Make sure to visit the Helmar Website to find out your closest stockist
And remember to check the Helmar Blog for more inspiration from the other Design team members 


I've had this Prima Bird Cage for ever a friend and I were going to do them together but then she opened a gift shop and hasn't crafted since so I thought it's about time I used it 


Mum and I went shopping in a big cheap craft store and they sold lots of flowers and materials wool etc so we bought lots of flowers and some of this mesh 
Mum got some bit and pieces 
I used the Fabric Glue adhere the glitter mesh to the back of the cage


 I stuck a few layers of cardboard using the Premium Craft Glue (it's my go to at the moment) together so there was height and the Nymph would stand out amongst the flowers 


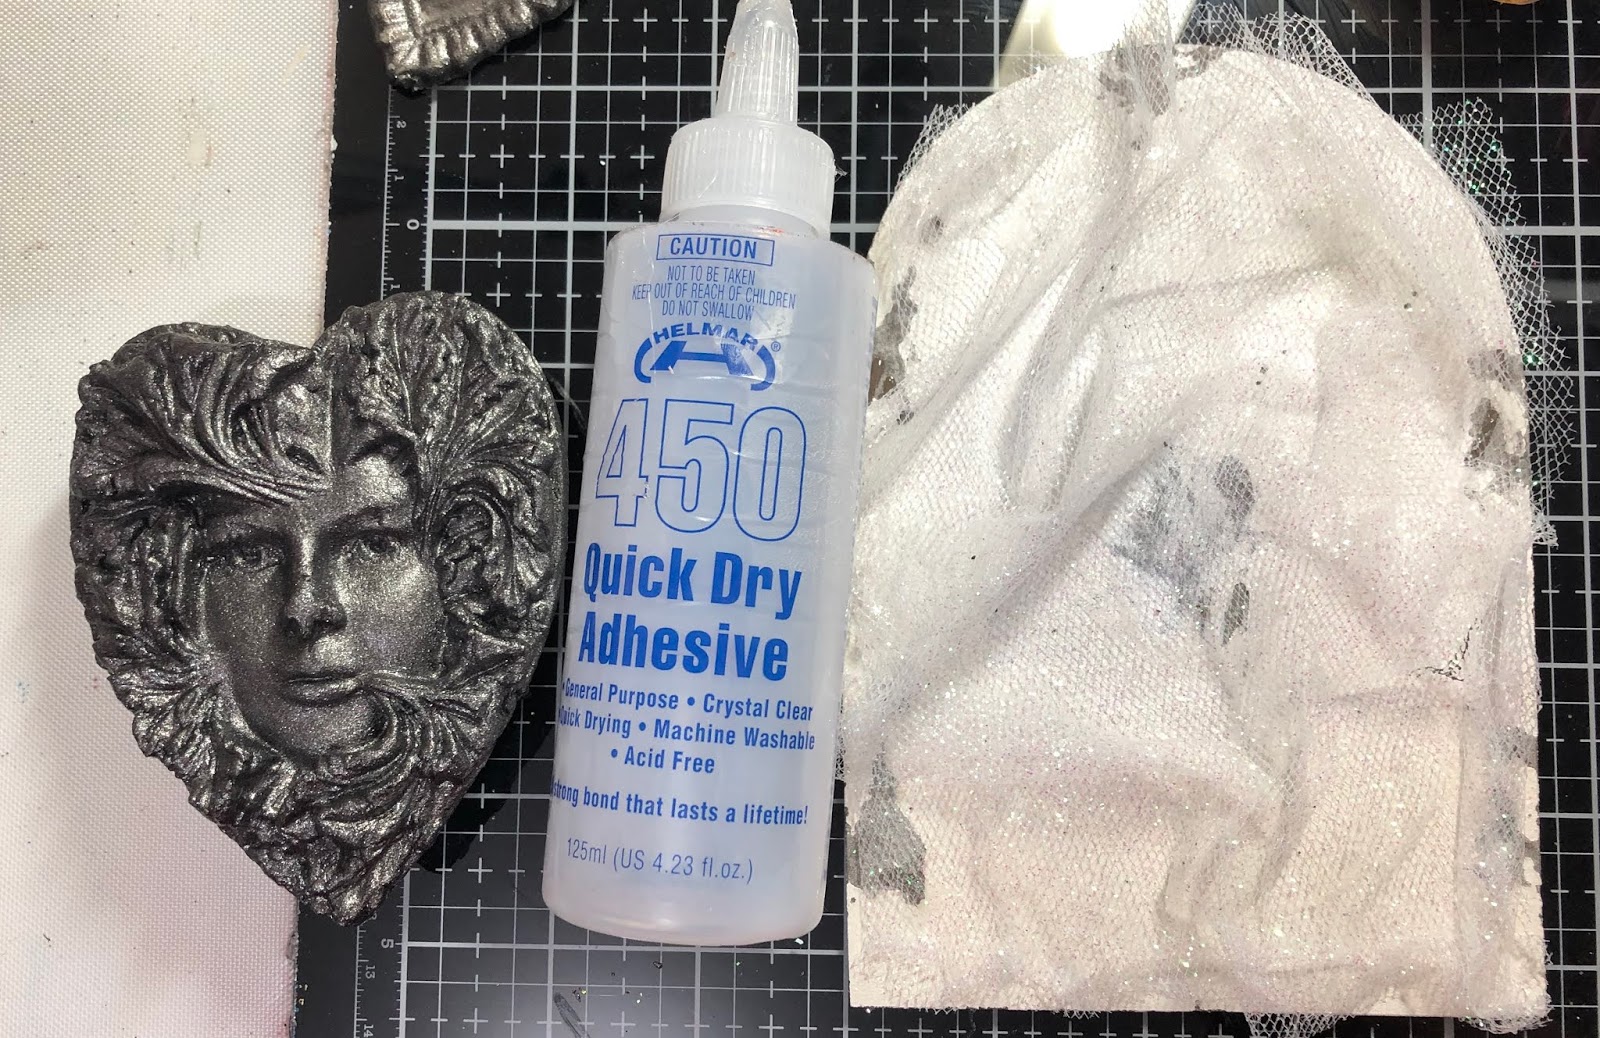
I painted the paper clay Nymph with Finnabair Acrylic Paint Sparks and stuck it to the back of the cage and material with the 450 Quick Dry Adhesive


I used a lot of different sized gems which I scattered around the whole cage as well as used them in the Nymphs eyes so I used the Gemstone Glue to adhere them over the flowers and on the bottom of the cage


With the Nymph it has detail that stands out so I used Finnabair Art Alchemy Opal Magic Vintage Silk Wax
It's such a pretty colour and not too bright just enough to make the details pop


I used Finnabair Art Alchemy Opal Magic Vintage Silk Wax on the Heart as well and added a large flower to go with it


Helmar Products I used

 Thank you for visiting and I hope you come back soon x